
Buckets of Stone, Sacramento, Calif.
www.bucketsofstone.com
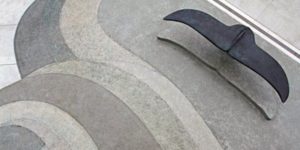
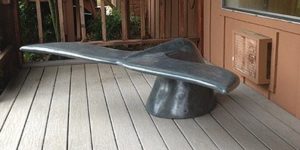
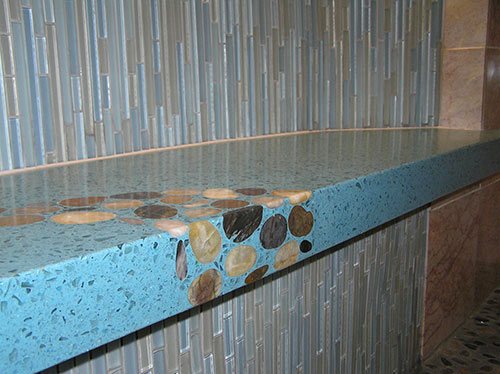
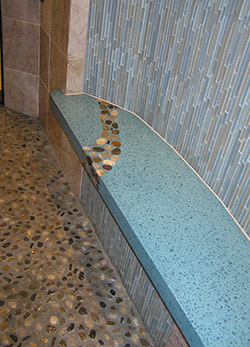
Originally designed for a shower bench installation, this striking river-themed countertop application features a dazzling blue-colored mix with glass aggregate and gorgeous river stone detailing.
Ingredients:
Your preferred white-cement-based countertop mix using the following aggregate and sand ratios (amounts given are per cubic foot of concrete):
17.6 pounds American Specialty Glass clear glass aggregate: size No. 2
28 pounds American Specialty Glass clear glass aggregate: size No. 1
22.8 pounds American Specialty Glass clear glass aggregate: size No. 0
21.8 pounds 20/50-mesh glass sand
3.5 pounds Blue Concrete 80-mesh glass sand (or generic 90-mesh silica sand)
 The pigment loading for this mix:
41.3 grams Blue Concrete SB144-EXF Yellow Oxide pigment
46.2 grams Blue Concrete SB44-EXF Super Blue pigment
Zinsser Bulls Eye 1-2-3 Shellac: Clear
Round river stones (of the sort used in landscaping — or found at the bottom of rivers)
Ball Consulting Ltd. Pol-Ease 2650 release agent
Blue Concrete ICT Counter-Hard and Counter-Guard First Sealz sealer system
Special tools required:
3/4-inch melamine for building your form
hot glue gun with glue
router with a flat-bottom bit
hand-held wet grinder with disks from 30 grit to 400 grit
Directions:
- Your first step will be to lay out the shape of the piece you are casting on a sheet of melamine. You can trace around a template, or just draw the shape with a pencil if it’s simple and you’re not using a template.
- Now outline the area of the piece where you plan to place the stones.
- Fit the router with a flat-bottom bit and cut down into the melamine across the entire area where the stones are to be placed. The depth to cut down to depends on how rounded your river stones are. The rounder they are, the deeper you’ll need to go. (If the stones are very flat or if they are precut, then you won’t need to cut out the melamine.) For the project pictured, the stones went down about a quarter of an inch.
- You’ll want to rout almost to the edge of the sheet of melamine, leaving just enough room to attach the vertical form pieces (which are also melamine). If you want to extend the stones down the edges of the piece, then mark the end point of the melamine channel on the side of the appropriate vertical form piece where it meets the base, and rout a channel of equivalent depth into that vertical form piece.
- Once you’ve got the void for the river stone area routed out in the base and sides of the form, you can assemble the entire form for your counter.
- Apply a coat of shellac to the raw melamine to waterproof it.
- Once the shellac has dried, you can start to place the stones. Glue the stones to the melamine in whatever pattern or arrangement you like using the hot glue gun.
- Mix your white-cement-based concrete mix of choice with your aggregates and pigments.
- Apply release to the form around the stones, but be careful not to put any on the stones themselves.
- Pour the concrete into the form, and let it cure completely. Demold.
- Using a wet grinder equipped with a 30-grit lippage disk, grind the stones until they are almost flush with the surface of the counter. Then switch to the 50-grit and then the 100-grit disks, and keep grinding, being careful to keep the grinder perfectly parallel so as not to nick or gouge the surface outside the stones.
- Once you have ground the stones until they are as flush as possible with the rest of the counter, grind the entire surface to your liking, and smooth with the 100-grit disks.
- Slurry the surface to fill any pin holes or voids. (Need tips on this step? See the “Fixing Bug Holes in One Step” article in the April 2011 issue of Concrete Decor.)
- Polish the surface to 400 grit in preparation for sealing.
- Seal with the ICT countertop sealer system, and you’re all set.