

 When it comes to cementitious overlays, gravity doesn’t have to keep you down.
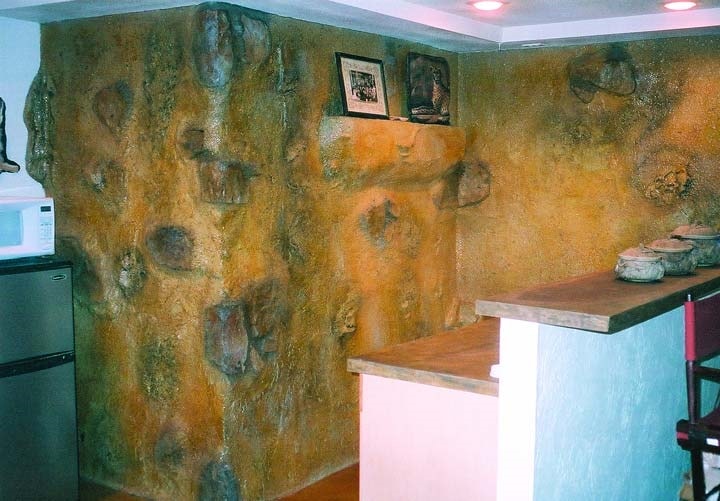
Just as overlays can radically restyle floors and countertops, so too can they transform interior and exterior walls, as well as chimneys, planters, pillars and other upright surfaces. From stamps to stencils, stucco to faux Venetian plaster, vertical overlays allow for a broad variation in styles.
Today’s vertical overlays can adhere directly to a wide variety of substrates, including concrete, masonry, ceramic tile, wood, steel and drywall. They range in thickness from paper-thin skim coats to stampable coatings up to four inches deep.
Some products are formulated specifically to go on vertically without sagging, while others can be modified to do so, either by mixing them more thickly or with additives. Still others are designed to be used either horizontally or vertically with no modification in between.
Vertical overlays can be applied through conventional methods such as troweling, rolling or spraying. In general the process for overlaying a wall is the same as for overlaying a floor. But there are new wrinkles to think through, points out Ron Borum, executive vice president of the Miracote division of Crossfield Products Corp. “You have to come up with a delivery system from the bucket to the vertical surface without spilling it on the horizontal surface,” he says. “And you’ve got to figure out a mechanism to get to the vertical surface, usually scaffolding or a traveling stage. Or if you’re really smart, you do it on a tilt-up wall when the wall’s still down.”
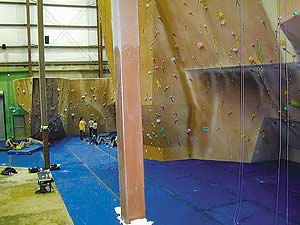
Netting, lath used for reinforcement
As with any overlay, proper preparation of the substrate is critical when going vertical. For applications directly onto a substrate, a primer with a bonding agent is typically used. When seams or joints are present, as in drywall and wood, taping and/or mudding is done to prevent the junctures from showing through the coating.
Mesh netting is often applied to the substrate (using adhesive) to bridge cracks and serve as a reinforcing mechanism. “In the old days they used to use the jute bags that your corn came in,” says Borum. “Now it’s usually polypropylene mesh nets, or fiberglass mesh nets.”
Expanded diamond metal lath is another commonly-used reinforcing mechanism, especially for wood substrates, which are highly subject to movement. Lath is also used when a holding mechanism is called for with some thicker overlays.
|
|
|
|
|
|
|
|
|
|
|
|
|
|
|
|
|
|

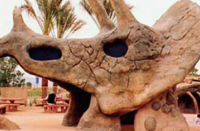
Some contractors use Glass Fiber Reinforced Concrete (GFRC) to boost a vertical overlay’s durability. It’s used regularly by David Long, president of the Lakeland Company, an Idaho-based firm that specializes in theme construction for clients such as casinos, zoos and museums. “We’ll combine chopped glass in our mix to bond everything together and allow it to flex without cracking and chipping and so forth,” he says.
Long is a big proponent of lath, too, especially in freeze-thaw climates. He’s so sold on lath’s superiority as a mechanical attachment that he even uses it for overlays on drywall. “It’s unorthodox, to say the least, but it works and it lasts,” he says. “Yeah, it costs more. But how much does it cost to come back continuously to fix chunks that are falling off the wall?”
Plenty of room for individuality
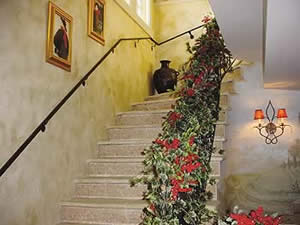
The looks achievable with vertical overlays are limited largely by the imagination. “You can let your mind run wild,” says Gary Jones, president of Colormaker Floors in Vancouver, Canada. One creative texturing technique Jones used to age a wall involved gently bruising it with a sock full of nails.
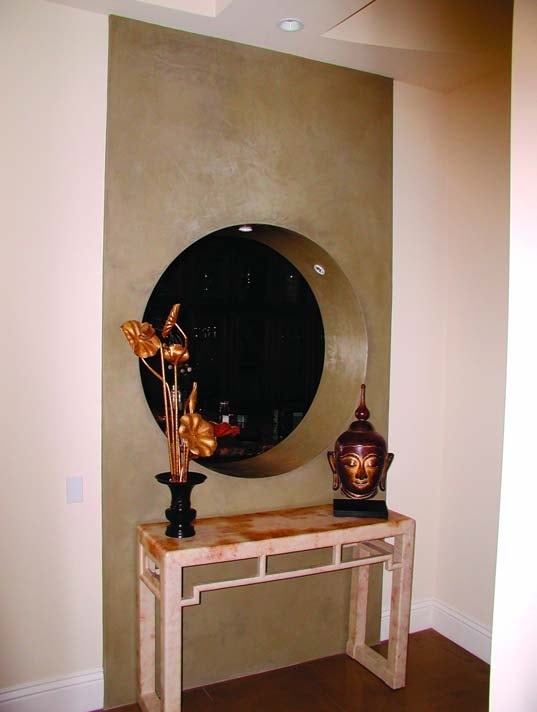
Applying multiple layers of skim coat is a popular approach for interior walls. Borrowing an old Italian plastering technique, Jones has gotten nice results by covering a coarse base coat with a fine finish coat. “The material underneath shows through, yet the finer material fills the gaps,” he says.
Rick Smith, of Richard Smith Custom Concrete in Los Angeles, typically uses three coats of varied coarseness. The first coat, which fills depressions on the substrate, contains sand ranging from 30 to 60 grit. The second coat, which tightens edges and fills low spots, has sand ranging from 60 to 120 grit. For the final coat, Smith might go with anything from 120-grit sand to a powdery-fine silica flour. “In most cases out here in California, people want a tight-troweled finish or a really clean, almost mirrored finish,” he says.
When multiple skim coats are used, depth and texture is best attained when layers are applied as thinly as possible, says Rick Reinking, a technical representative for the Seattle-based Rudd Company. “You can build it up thicker, but then it starts to look like paint,” Reinking says. “It’s not going to have any depth or translucency.”
The overlay Reinking applied to the walls of his own office, by the way, consists of varying shades of purple. The outside of his office is done in a cementitious stucco. “I just put on a pair of latex gloves and a pair of cotton gloves over that and wiped it on by hand,” he says.
Stamping, stenciling go vertical too
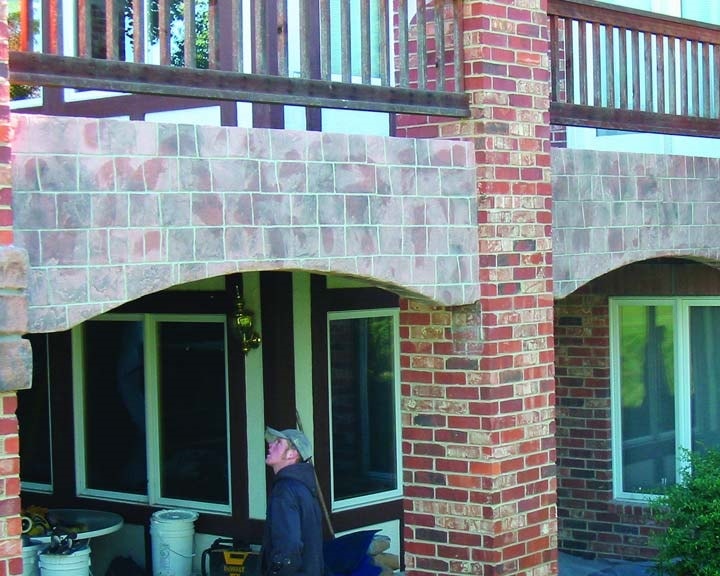
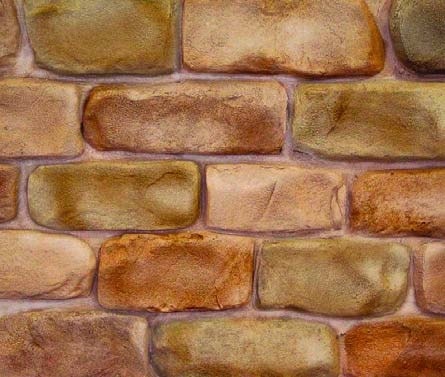
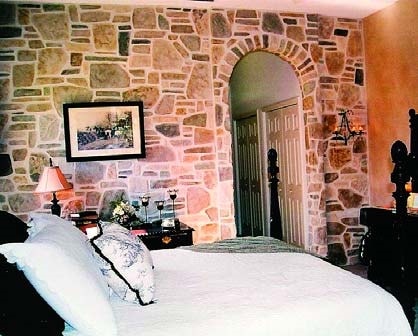
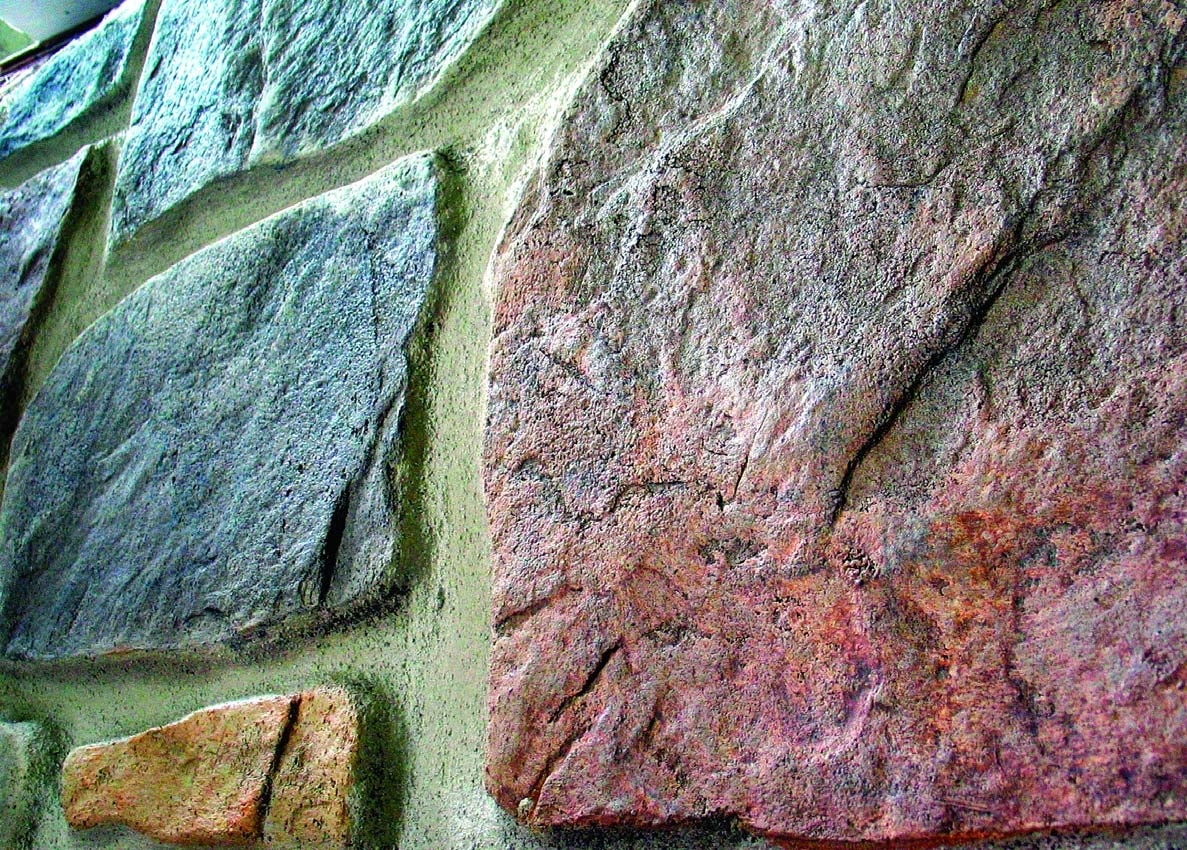
Stucco may have once been en vogue for exteriors, but stenciling, done in a variety of brick and stone patterns, has become a popular application these days. A natural grout look can be achieved by leaving the first coat uncolored and applying a tinted layer over it. Adhesive-backed stencils work particularly well on vertical surfaces.
Stamping has grown in popularity in recent years with the advent of new products designed specifically for verticals and ranging in depth from 1/4 inch up to four inches. A variety of stone, block and brick effects can be achieved with off-the-shelf stamping tools, but sometimes stamps can be improvised.
When David Long needs wood textures in his theme construction, for instance, he turns to lumber. “We’ll cut it to the dimensions we need, sandblast the face to raise the grain, and use the actual lumber for a stamp,” he says.
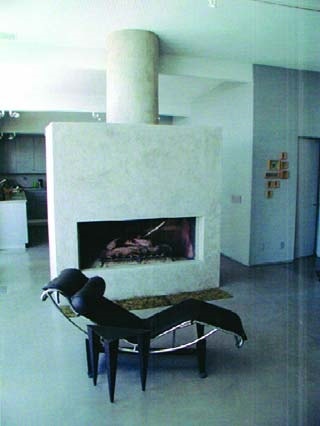
Hand tooling, or carving, is another option with some vertical overlay materials. Sharp-edged tools can be used to create scores, designs and even relief sculpture while the coating is still in its plastic stage. “I’ve seen everything done from a coat of arms to a family’s actual features,” says Bill Tott, technical director of ArcusStone, a California-based overlay manufacturer. “One of our artists carved a whole family — four faces — right on the pillars of a fireplace.”
Cementitious overlays can also be applied to extruded polystyrene forms cut to replicate architectural stone details, such as arches, columns, windows and door surrounds. Not only do cementitiously-coated forms represent a cost-effective means of achieving elegant effects, they also weigh a heck of a lot less than the actual articles. “You can literally stick some of these things on with adhesive instead of mechanical anchors and ties,” Tott says.
Color tips
The same coloring materials used on horizontal overlays can also be used vertically, such as integral colors, acid stains or even broadcast hardeners. However, some adjustment in application technique may be required, especially with liquids. When Rick Smith sprays acid stain onto vertical overlays, for instance, he slightly increases his compressor’s psi, stands a little farther from the surface and applies the solution in a finer mist. He follows up by blotting the surface with a crumpled lambs-wool chamois to take out any runs, then hits wet spots hiding in cracks and crevices with a dry terrycloth. Or sometimes he just throws dry sawdust up on freshly-stained walls to soak up excess moisture, then washes it off later.
Sealing is essential
To protect new overlays from abuse of the elements, sealing is crucial. All the principles of sealing floors apply to sealing walls, though fewer coats ordinarily suffice where foot traffic’s not a concern. Solvent-based acrylic sealers with matte finishes are a popular choice, especially for interior walls. Glossy finishes are sometimes used for exteriors, where they matte down with time.
In commercial areas such as restaurants, where contact between vertical surfaces and greasy-handed employees can be expected, urethane- or epoxy-based sealers may be warranted. “If there’s ever a concern for a lot of wear and tear, upgrade,” says Wes Vollmer of Alternative Finishes in San Antonio, Texas. Vollmer adds that when he bids on such jobs, he points out to the architects that he’s included the higher-cost sealers, which can substantially raise material costs.
For a different look, Rick Smith occasionally uses beeswax or even automobile wax as a sealer, which gives a satiny finish that you can’t get with conventional sealers, he says. “It gives you this really bitchin’ Old-World look.”
Interior vertical overlays should be resealed every three to five years, while exteriors should be resealed every two or three years.
Despite the similarities between vertical and horizontal overlays, contractors well-versed in floors shouldn’t jump straight into walls without doing some mock-ups first. “Go out in the garage and get an old piece of sheetrock or plywood and mimic a wall,” says Vollmer, who has mastered a variety of vertical applications, including a faux Venetian plaster. “I always tell guys, practice makes perfect.”


