 Over all the years I’ve worked in decorative concrete, I’ve done a lot of basic tile patterns. That’s all I did almost every week for three years as I learned to use my tools. I got so bored doing these that I had to find a way to design something a little different but still easy to lay out.
With an extensive background in custom tile work, I remembered doing ashlar patterns in showers and floors. The tile came with a predesigned layout for you to learn how to install it. I tried a couple of them on my floors and was very frustrated early on because I made it too complicated. First off they were way too busy. Second it was harder than I expected to keep everything square.
One week during those early years, my supervisor showed me how to draw an ashlar pattern. As I watched, I had to stop him and correct him. Due to his lack of technique and planning, he was out of square within 10 feet of starting the layout. By the time he finished, the room was so far out of square I wanted to fire him myself and start all over. Not only was I shocked at how bad he drew the design but also that the clients never noticed.
Now I have this ashlar design down to a science and choose it over a basic tile pattern whenever I can. Let me explain how to draw it almost as fast as a basic tile pattern.
The overall layout
First, always start by drawing a border around the room based on the room’s size. I never go under 6 inches and usually never over 12 inches. Since this is an asymmetrical pattern, don’t start in the center. Start in a corner. Make sure the corner is square. If it’s not, adjust the border because the walls aren’t square.
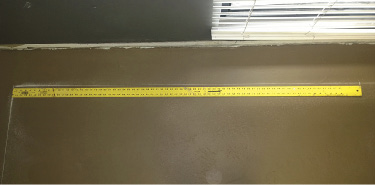
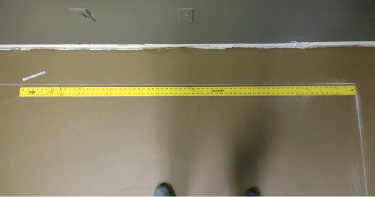
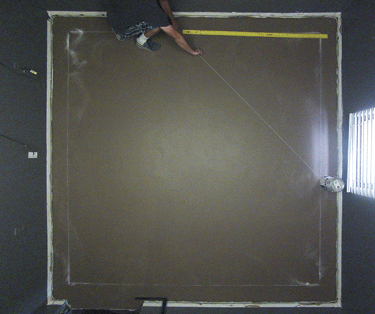
To keep things simple, I’m going to explain my layout using a 6-foot design. (I do everything based on 6 feet but I’ve had great success doing 8-foot and 10-foot layouts as well. But over the years, I’ve found 6 feet is an easy starting point for me.) Use a 6-foot straight edge to measure 6 feet out in both directions from the corner. To start, chalk a line between those two points. Next, decide the size of the tiles for the project. Remember, with all of these design layouts it’s important to see the whole room in your head.
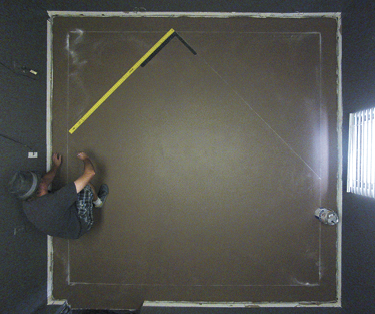
After chalking the first line on a diagonal, measure 6 feet off that line twice. Make these measurements as far apart as possible to try to accomplish the same goal I talked about in my basic tile pattern article. This helps keep everything square. After making those two marks, chalk a line through both points across the entire floor. Keep doing this until you reach the other side of the room.
Now, pick a place anywhere on the floor to start. Remember this is asymmetrical so the only rule you must follow is to keep everything square. Square off one of the lines and draw a perpendicular line between two of them. It has to be perfectly square because if you make one mistake with these lines everything will be off square.
While drawing that line, make a dash at 18 and 36 inches from the bottom chalk line. This will be important in a minute.
Next, go back to the main chalk lines and measure 18 inches. Drawing gets really easy after that. Make another perpendicular line 6 feet from the first one and make a dash at 18 and 36 inches again from the bottom chalk line.
 Creating the next row of large squares is crucial to the entire design. I’ve tried multiple ways to lay out the next row of tiles and I’ve learned that just adjusting the design 18 inches off the last row makes this design look completely random.
With that said, I always shift 18 inches to the left and square up to the chalk line. Draw another 6-foot line perpendicular to the chalk lines and make dashes at 18 and 36 inches again. Mark off every 18 inches in both directions of that chalk line just like the previous two. Repeat this throughout the room until you have what appears to be a block pattern across the entire floor.
Drawing the tiles
Now comes the fun part. Inside each of those 6-foot squares you can draw whatever you want. It’s up to you to make them extremely busy or very simple. The squares don’t have to look the same if you don’t want them to. However, I typically just repeat the same design in each one. That way I’m fast, efficient and everything stays square.
Remember, you have to cut this design after you’re done drawing it. If you make it too complicated, you may have trouble cutting it.
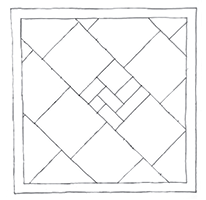
Now, it’s time to use all those dashes. This is where the design speeds up if you keep it simple. First, place a 6-foot straight edge at the 36-inch mark. Then starting from the left side, draw a line 54 inches long stopping 18 inches shy of the right line. As you draw this line, make a mark at 18, 36 and 54 inches.
Next draw a perpendicular line to that at the first 18 inches of the left side of the square. Then draw another 54-inch line from the lower 18-inch marks you made on the perpendicular 6-foot lines. This time it is from the left side of the big square to the line just drawn. There are now two lines left to draw.
Draw a perpendicular line on the right 18-inch dashes, another 54 inches long. Finally, draw one through the center skipping one section in the middle. When finished you’ll have a 3-foot tile, a 54-inch tile, four 36-inch tiles and one 18-inch square. Repeat this layout in every 6-foot box.
By the end, it’s hard to see that a pattern was made. The clients will never know you did.
Video Tutorial

