Adjusting for inflation in an uncertain economic time requires a hard look at materials and processes. At Concrete Decor, we’ve taken a closer look at some of these offerings and would like to share our findings.
More recently, we’ve sampled various garage-floor coating systems, particularly metallic and vinyl-chip systems. We found broadcasting chips to refusal leads to a degree of waste in chip usage. Furthermore, this type of application requires applicators to spend time removing material that didn’t bond with the colored base coat.
It also requires scraping the surface to remove chips standing on end or in an upright position. After scraping, the installer must thoroughly vacuum the floor to remove remnant particles of the chips.
When a vinyl-chip application is finally ready for the clear coat (aka topcoat), the installer must use a significant amount of product to bury a very rough surface if the objective is to create a highly reflective, easy-to-clean finish.
 |
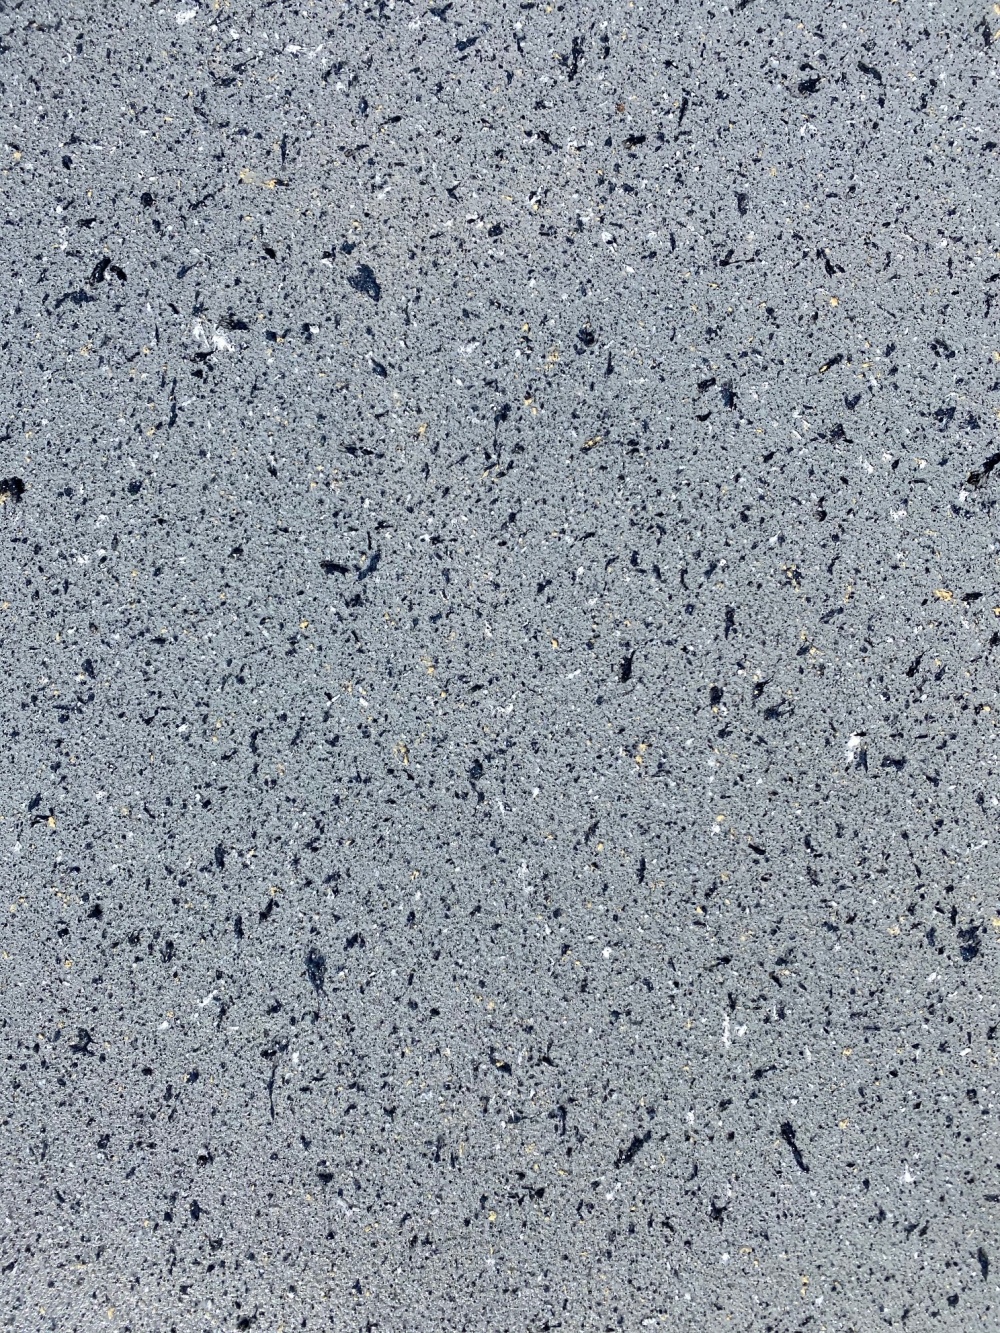 |
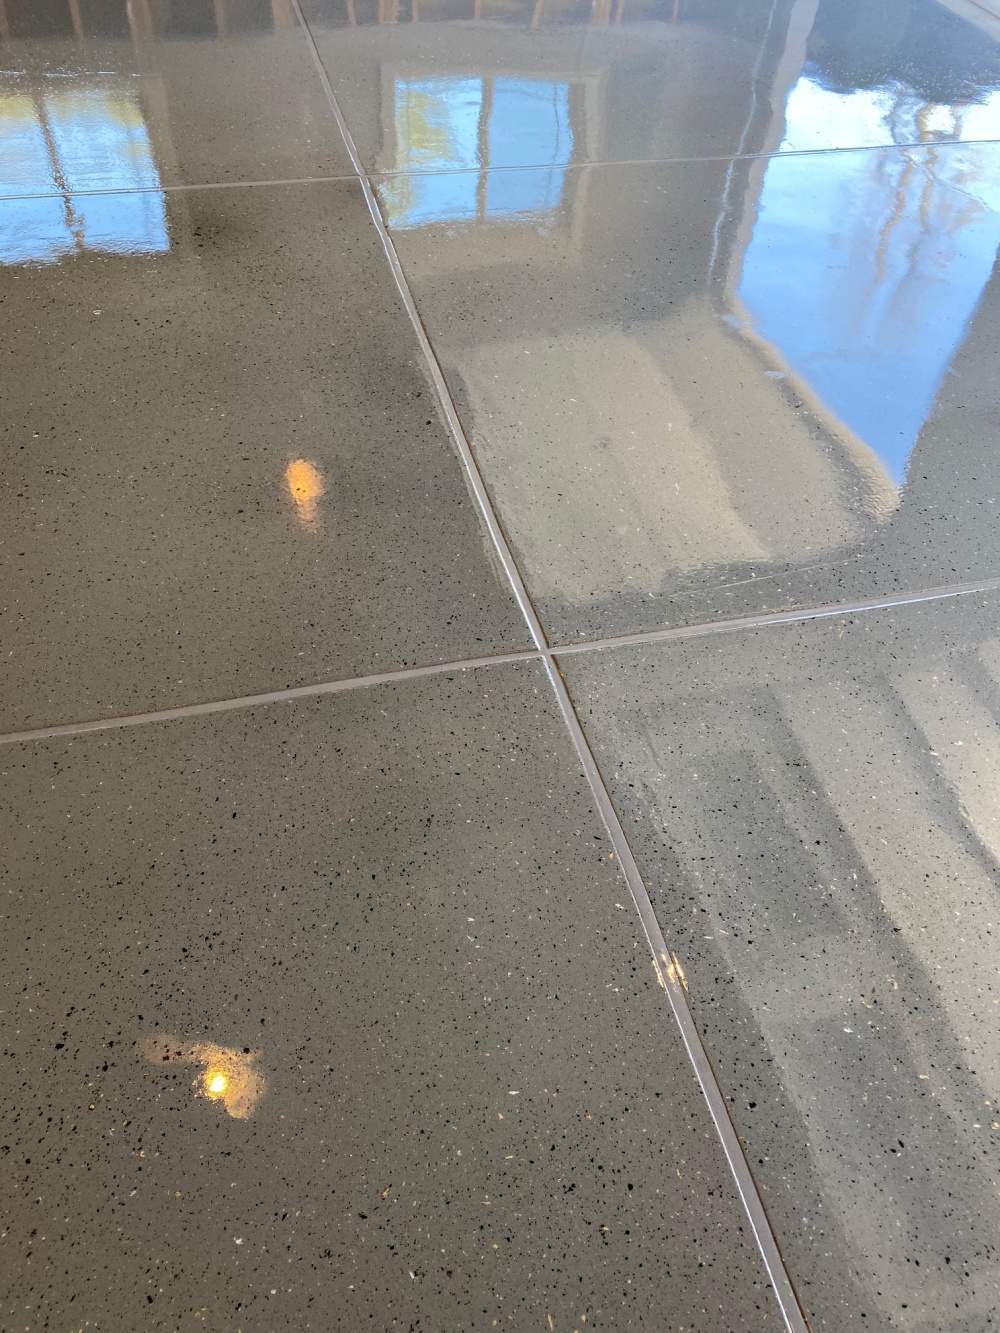
This system offers some obvious advantages for projects of any size. First and foremost, you can use Liquid Chips with virtually any manufacturer’s resinous base coat (color coat). It bonds well to prepared surfaces and will accept most topcoats.
And at a time when many raw material supplies such as vinyl chips are scarce, substitute products such as Liquid Chips afford contractors an opportunity to try new things.
The material
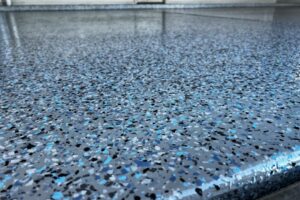
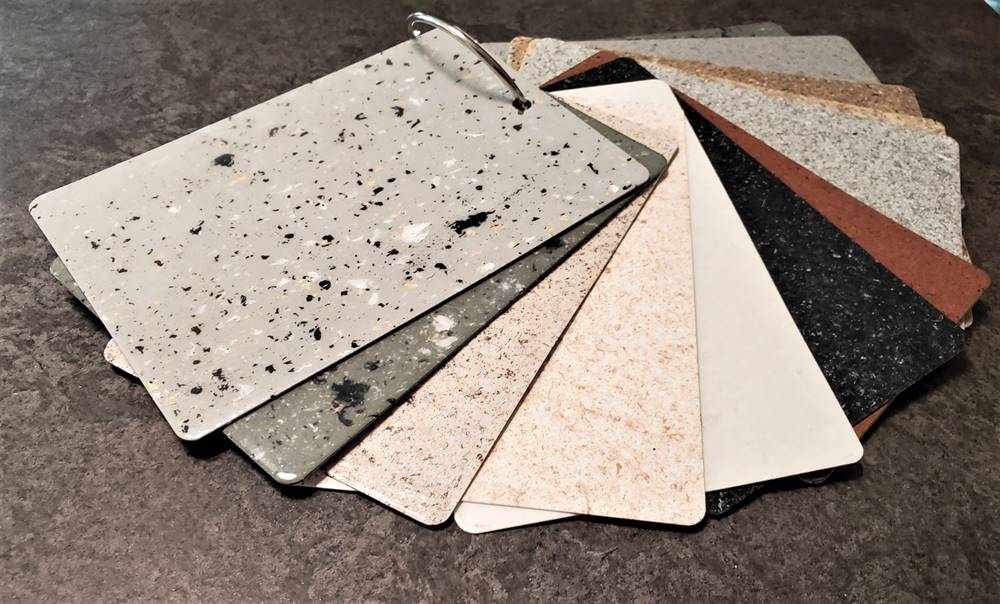
Liquid Chips come in gallon containers in 21 standard color combinations, with custom combos also available. You can complement these colors with an array of standard base coat colors such as white, black, tan or gray. Chip sizes are available in 1/4 inch and 1/8 inch or a combination of the two.
You can further customize chip size on the job by adjusting air pressure and size of the spray gun’s orifice. The manufacturer recommends a tip size of at least 2 millimeters and offers a cup gun equipped with a 2.5 mm tip. You can also use a pressure pot and Binks 2001 gun with an internal mix nozzle of 68SS or equal.
Priced at $88 per gallon for standard combinations, you’ll have to add on a few dollars for shipping. Still, this makes the cost about 30 cents per square foot as a gallon covers up to 300 square feet.
Opening a gallon container of Liquid Chips is much like opening a gallon of paint. However, you mustn’t shake this material. Instead, gently stir it to lift pigments that have settled at the bottom of the container. Then, it’s ready to apply.
The application
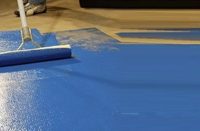
First, apply a resinous-primer base coat to the floor to establish a good mechanical bond with the concrete or wood substrate. We used GSPEC for this project. Its maker, Green Chemistry Innovations, offers a 15-gallon kit with White, Light Grey, Dark Grey or Almond color packs. This base coat also does an amazing job of bridging hairline cracks pre-filled with silica sand.
Also, if an epoxy primer has no solvent, you can overcoat it while still tacky. However, before topcoating, the Liquid Chips and base coat must be thoroughly dry. You can topcoat it with epoxy, polyurethane or polyaspartic.
Epoxies yellow but, if inside, it should be OK if you only use only 8-10 mils of topcoat. This is half of what’s typically applied so the yellowing isn’t as pronounced. Liquid Chips don’t yellow or discolor.
Once the base coat cured enough to walk on, we applied Liquid Chips. This part of the project was really fun because you can apply the material in various ways, including with a high-volume, low-pressure sprayer or pressure pot which we offer. We also offer an electrical sprayer that has a 2-cup assembly in place.
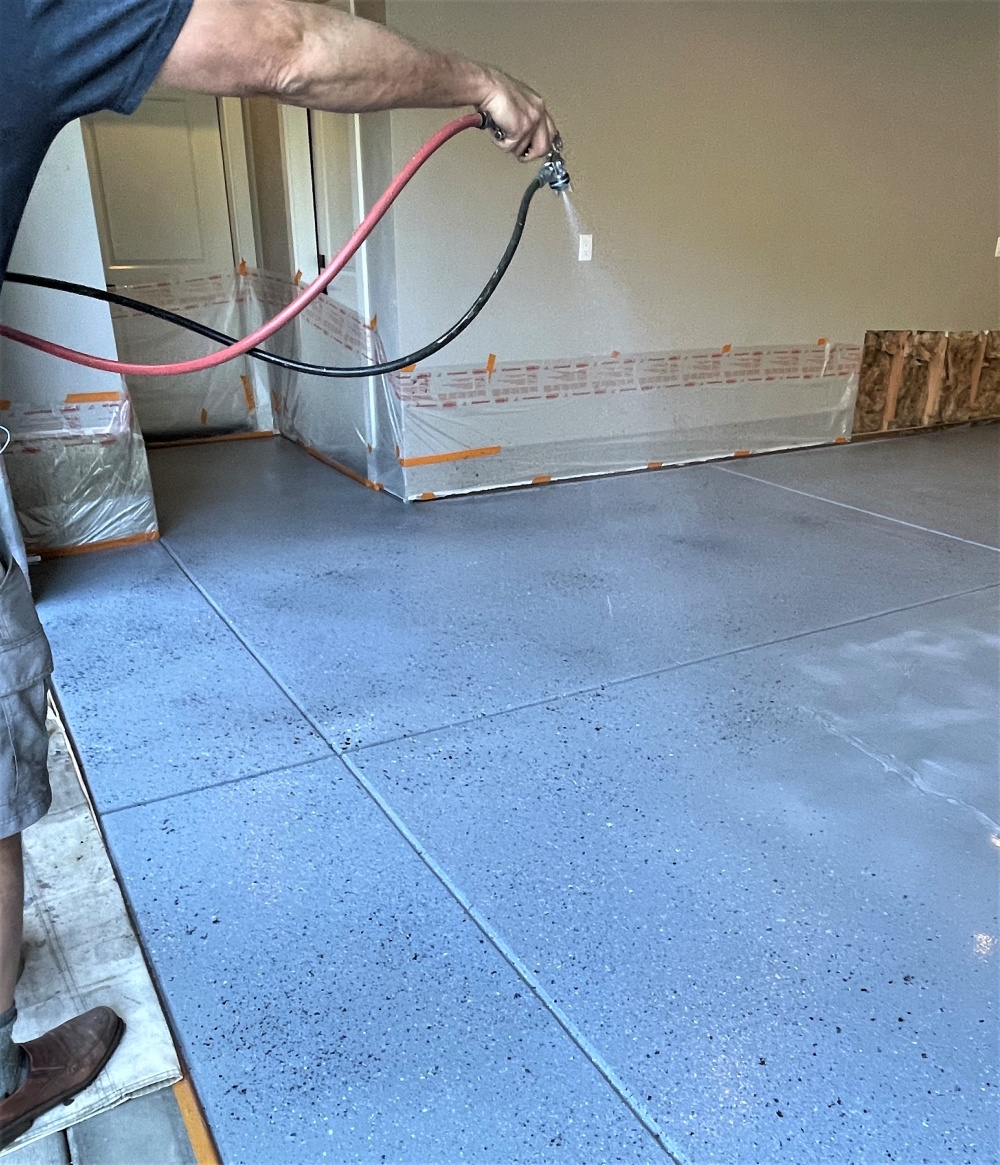
We found that a pressure pot or HVLP were most productive. And because the spray gun’s trigger lets you adjust airflow and material, you completely control the amount of product applied. In other words, you won’t get any light or heavy areas for applications that call for 50% to 60% coverage. Conversely, this problem often presents itself with hand-broadcasted chip applications. Even on coved-base applications, the Liquid Chip system delivers an exacting amount of color to transition points and vertical surfaces.
Lastly, you simply pour the unused Liquid Chips material back into the container and store it for future use.
The clear coat
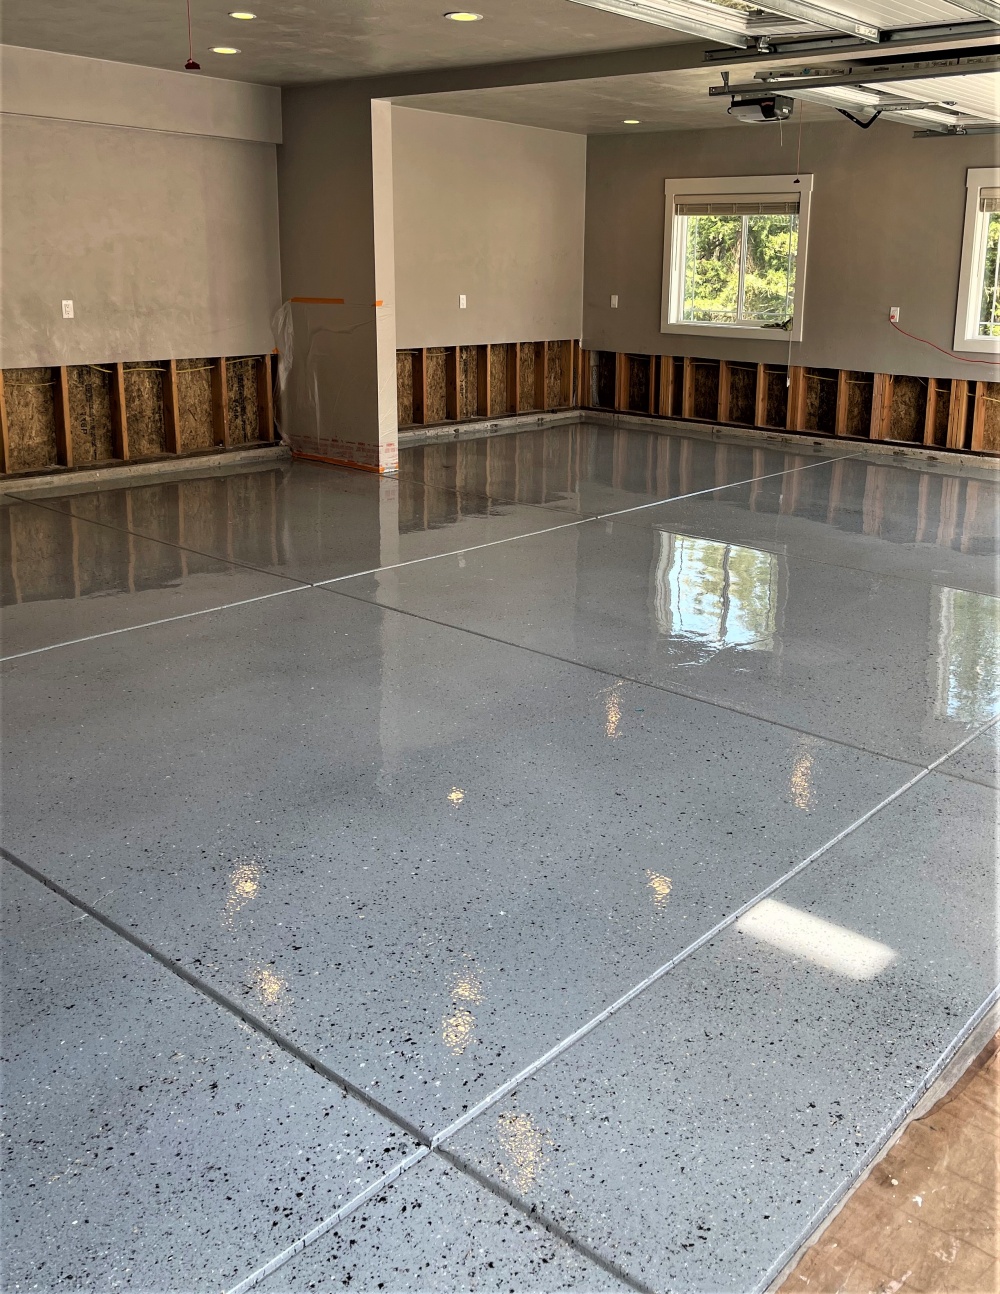
Liquid Chips virtually lay down flat on the surface. The material doesn’t leave any ridges and doesn’t require any cleaning, scraping or sanding prior to applying the topcoat. And since the topcoat is the most expensive part of any chip flooring application, requiring less is best for the bottom line. Compared to vinyl, Liquid Chips require half the amount of a polyaspartic or polyurethane topcoat to complete the project.
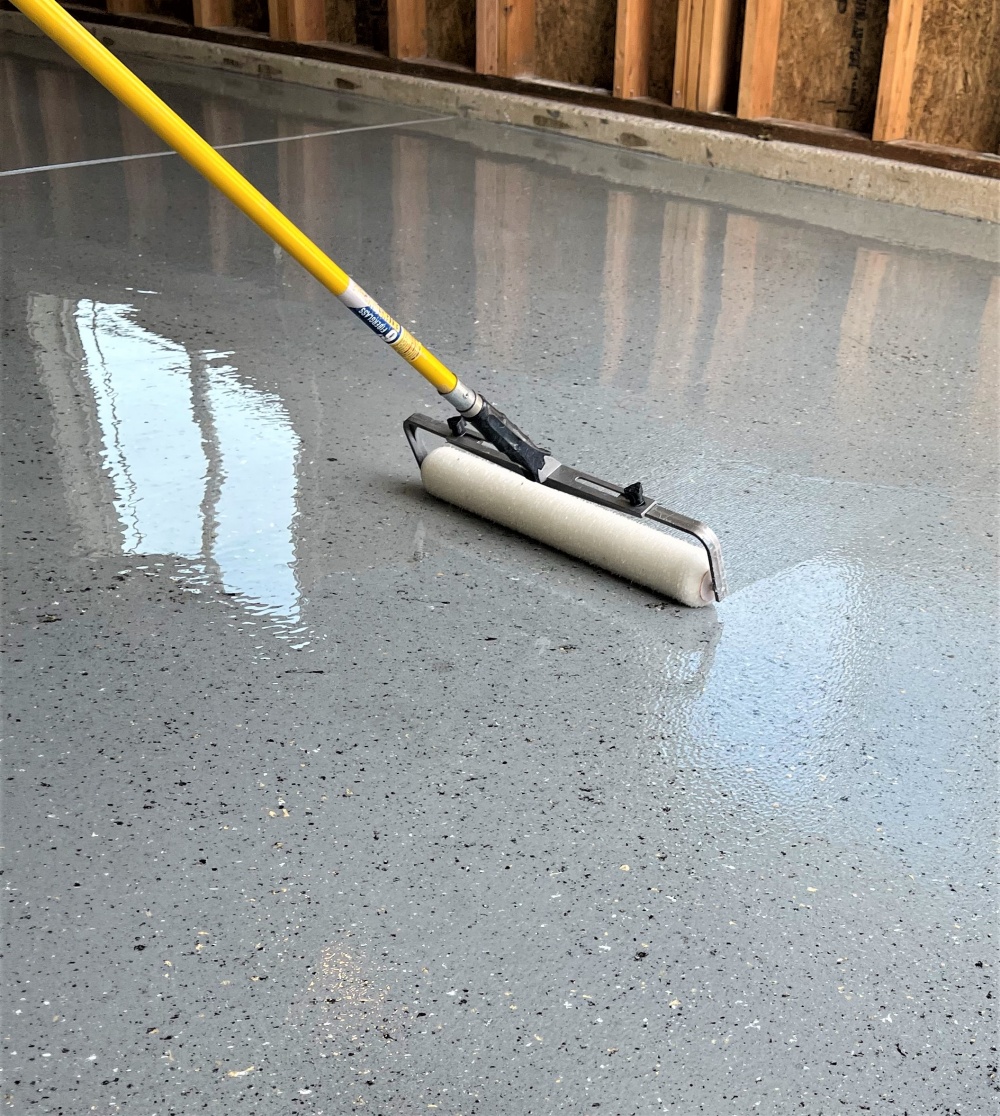
Concrete Decor feels experienced applicators using Liquid Chips can shave off nearly one-third of the time it takes to install a broadcast-chip system. If you can’t coat the base coat with Liquid Chips inside the manufacturer’s window for secondary coatings, it’ll require an 80-grit mesh sanding with a buffer or floor sander to ensure a good mechanical bond.
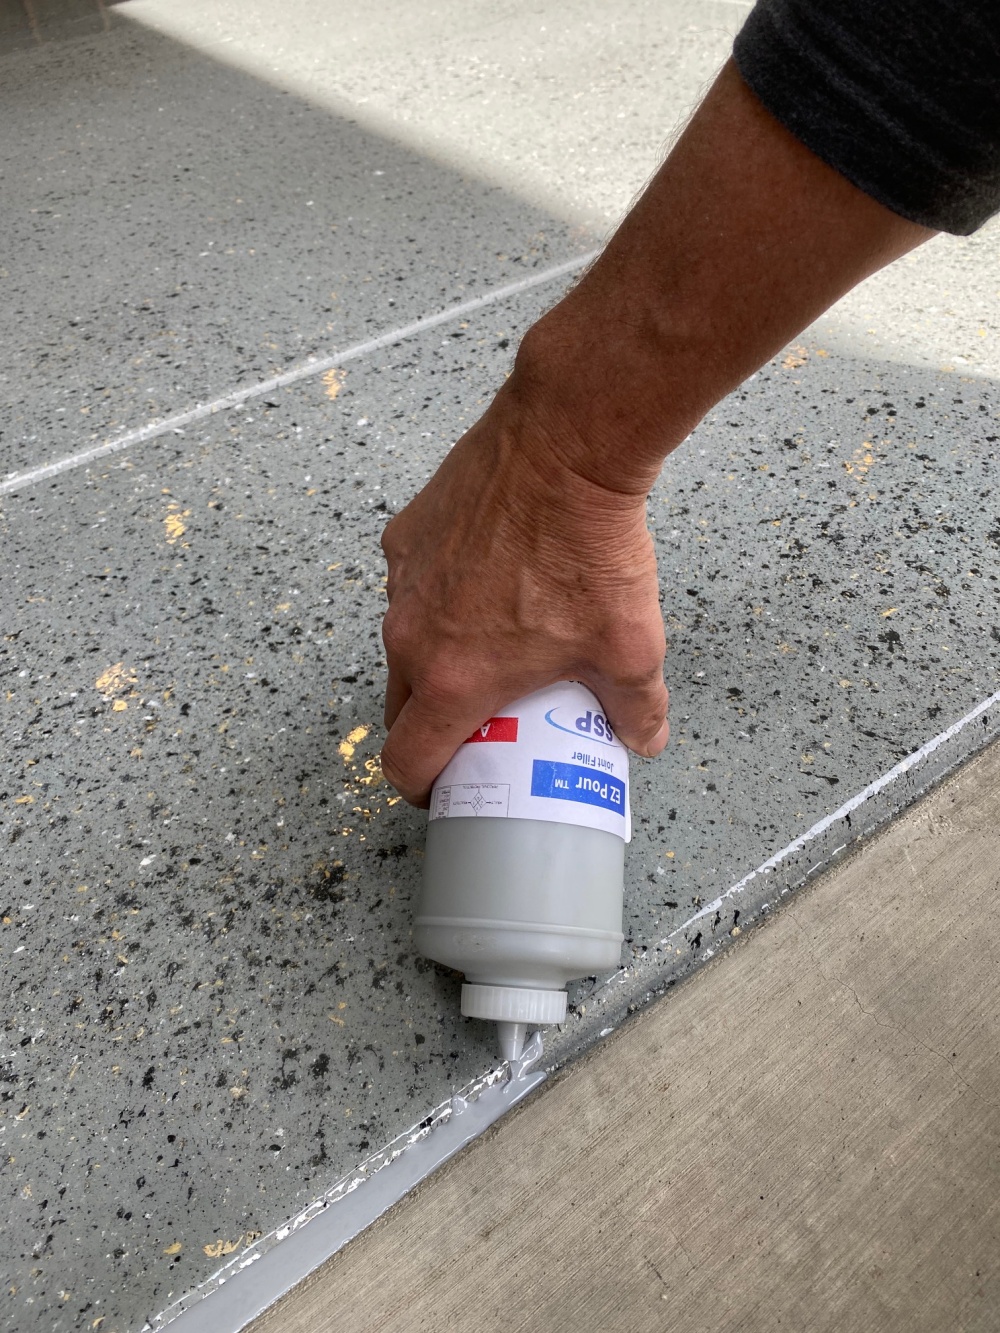
Additionally, it’s easier and quicker to fix damaged floors with Liquid Chips. You just abrade the area that needs repair, respray it and apply a new topcoat. You can also more easily cover vertical surfaces such as molding around floors since you spray-apply Liquid Chips.
The overall result: A spectacular-looking floor that both experienced and inexperienced applicators can achieve.
Recommendations
- Make test panels using lightweight 3-by-5-foot Triton backer board.
- Achieve two different finishes with these two sprayer systems:
- Weekend warriors — Use a small handheld sprayer
- Professional applicators — Use HVLP or conventional sprayer for production work. Use this sprayer for periodic touch-up work on projects (electrical outlet required). Both systems make cleaning up the Liquid Chip spray equipment extremely easy.
