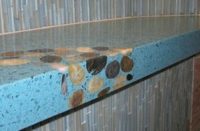
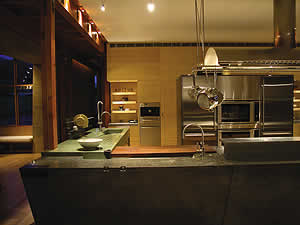
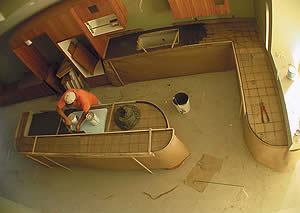
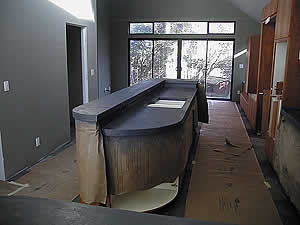
As demand for concrete countertops has swelled across the country, concrete contractors and artists have been honing their techniques to craft functional art at its finest. Producing concrete countertops falls into two general categories: cast-in-place and precast. There are ardent proponents of both methods, and many concrete countertop contractor-artists use both methods, depending on a specific project’s application.
Here we’ll explore the cast-in-place method. Part Two, in the next issue of Concrete Decor, will focus on the precast method.
Cast-in-place advantages
“Less complicated” and “seamless” are the most frequent comments used to describe cast-in-place concrete countertops. What’s more, they are typically less expensive than the precast method.
As Tom Ralston, president and chief executive officer of Tom Ralston Concrete in Santa Cruz, Calif., observes, “You don’t have to be a master form-setter. [This method is] more forgiving than molds. Also, it has more of a handcrafted look and feel.”
Richard Smith, owner of Richard Smith Custom Concrete in West Hills, Calif., expresses similar sentiments. “With cast-in-place you’ll see tool and trowel marks and finishing marks. Some people find this desirable. … It’s like building a violin. You watch the creation — a working piece of artwork in the house.”
Other advantages include greater flexibility in making monolithic units, fewer — if any — seams and no worries about moving heavy, fragile concrete countertops to a job site.
What you do need for cast-in-place countertops, however, is time: time to set the forms, time to pour the concrete, time to strip away the forms and time for the concrete to cure. If you don’t have that kind of time on site, precasting may be the required method.
Besides site time requirements, there are some other drawbacks to the cast-in-place method. Primarily, you can’t pour as precisely as with the precast method. You won’t get the same crisp lines and you are more limited in the finishes you can achieve. Also, as Rhodes points out, if something goes wrong “the client is looking over your shoulder.”
With that in mind, cast-in-place has obvious advantages for a contractor already working on site, says Buddy Rhodes, president of Buddy Rhodes Studio Inc. in San Francisco. “It is a great way for a contractor that is already working in the house to make [countertops]. The forms are built around the cabinets and such. What you see is what you get. The project is dependent on the preparation in making the edge forms and sink knock-outs. If you are already working in the house you can monitor it on a daily basis and make sure it cures slowly and evenly.”
Building forms and reinforcement
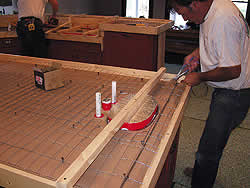
Keep the words “level” and “flat” in mind and you will be off on the right foot for cast-in-place countertops. What you use to create your forms is not as critical.
“We use anything, from melamine to 2 x 4s to 1 x 4s to plywood. We’re not that fussy. … But you have to have solid support. The weight of a concrete countertop two inches thick is about 25 pounds per square foot; 11/2-inches thick is about 18 pounds,” reports Ralston.
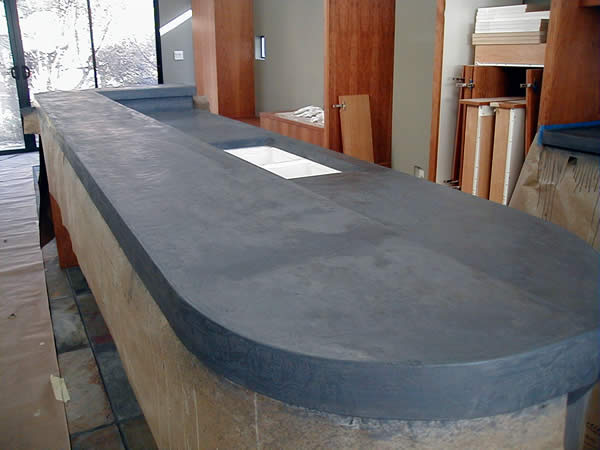
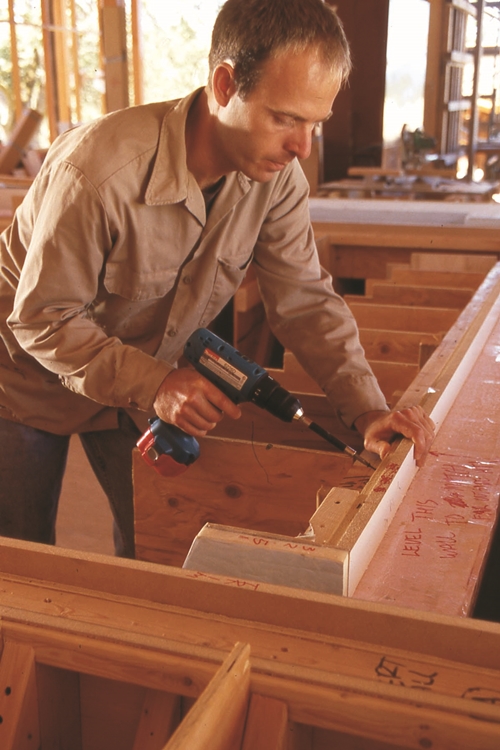
For the typical concrete contractor, preparation for the cast-in-place method will sound very familiar. “The cast-in-place method is set up with plywood and 2 x 4s like a ‘curb and gutter’ that is a staple for the concrete contractor. They strip the outer edge of the edge form after the cement sets up a little and finish the edge along with the top for a seamless edge,” explains Rhodes.
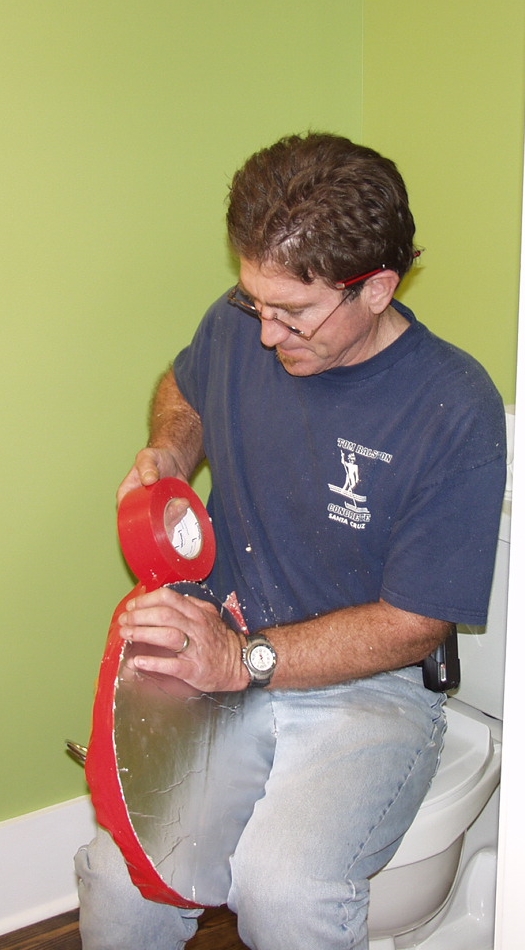
For Smith, there are no limits to what you can form. “You don’t have to be just square.” But, he adds, “The number one thing is accuracy.” Smith also uses some of the tricks and materials used in pouring steps and swimming pool coping — particularly the use of plastic foam for forming edges. Not restricted to bull-nose or straight cantilever, there’s no limit to the type of edging he can get, he says. Smith says he uses low-stick tape with double-stick tape on top to attach the foam to the form.
Most cast-in-place contractors use reinforcement.
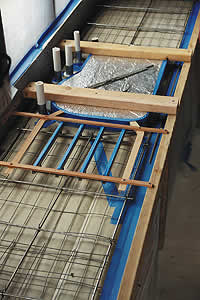
Smith uses expanded metal lath attached to the substrate with screws left raised about 1/2-inch. He also uses pencil rod and No. 3 rebar along edges.
Rhodes says what he uses depends on how thick the slab will be. He uses rebar for slabs more than 2 1/2-inches thick, and galvanized wire mesh in his 11/2-inch slabs. “Welded-wire mesh also works, even chicken wire for some projects. We also use thin threaded rod to reinforce around sink openings.”
Ralston also makes his reinforcement choices based on the project. But he has words of caution as well. For thinner countertops he doesn’t use rebar because it “can shadow on the surface.” And it is important to anchor wire mesh securely. “There is nothing worse than pouring a countertop and have the wire mesh poke through the face.”
Depending on the application, fiber reinforcement is frequently used in the concrete mix when cast in place. Smith uses it if there is a particularly long stretch of countertop, but lessens the amount he uses if the countertop requires more detail.
|
|
The mix design
Some of the pioneers in the concrete countertop arena have developed mix designs that are available for contractors to purchase and use. When he’s not using his own mix, Ralston uses one developed by Buddy Rhodes. “We bag our own mix using white portland cement, sand, marble dust, metakaolin and other ingredients. We use liquid colors in the mix water to color the slabs all the way through,” Rhodes says.
Fu-Tung Cheng, principal and chief executive officer of Cheng Design in Berkeley, Calif., has also designed a prepared mix that contractors can use to eliminate the guesswork. “You just add water and Quickcrete. It has the additives, plasticizers and [additional ingredients] included,” he says.
Ralston also points out that “you can order a nice structural mix from the ready-mix company — with 1/2-inch angular rock, not pea gravel.”
Smith prefers a standard gray, generic mix design for his concrete, but “we’ll cut the portland cement and add high-early cement” for faster drying and less shrinkage. He’s not as concerned with slump either, but rather with the sand-cement ratio. “I’m only really concerned with shrinkage,” he says.
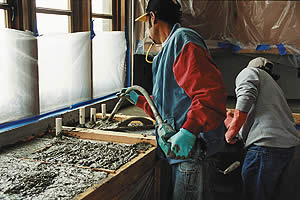
Ralston, on the other hand, likes a stiff 3-inch slump, which he usually then vibrates. “It’ll turn into about a 4-inch slump as the water and cream rises.” Cheng says, “We’re looking for a 6-inch slump” that you can adjust with water. When pouring countertops in place, “at the most you’re doing 9 cubic feet. You have more control than pouring a patio.”
Of course, from one region of the country to another, a mix design can change depending on the materials available and the climate conditions.
Many contractors who cast in place use integral color. Liquid pigment seems to be the preference. Ralston advises, “Order at least one yard to get a consistent batch.”
Tools, vibrating and cure time
Tools used for cast-in-place countertops are pretty much the standard tools for any poured-in-place concrete work: standard mortar mixers, wood floats, standard trowels, etc. But you’ll find a variety of custom-made tools as well. Smith has some in stainless and some made of fiberglass. Ralston reports, “I have tools for all occasions,” including Sheetrock tools he’s cut up, palm sanders, hacksaws, whatever looks like it would work.
When it comes to vibrating the concrete, Ralston recommends a hand-held vibrator, not only because they are light, but also because they are user-friendly. He recalls one project where “they brought in a big vibrator that nearly vibrated the forms loose. It was crazy!”
Smith, because he uses plastic foam in his forms, doesn’t want to create excess cream, so he doesn’t usually use a vibrator when he casts in place. “We pour a thin coat first. Then we pour on top of that — in lifts — seconds behind each other so we eliminate bubbles.” But if the countertop has cornices or continues down to the floor he will use a vibrator.
Like with all concrete applications, cure time is very important. Rhodes explains, “Cast-in-place should be tented to allow for a slow and even curing. Keep the slab moist and do not let it dry out too fast. If the plastic lays on the surface it might leave a shadow.”
Controlling the curing process is one way cast-in-place contractors eliminate the cracks that otherwise might require control joints. If control joints are used in a cast-in-place application, you will likely find them in weak areas, such as corners of notches.
Shaping and finishing techniques
The cast-in-place method offers various creative opportunities, perhaps just not as refined in nature as with the precast method.
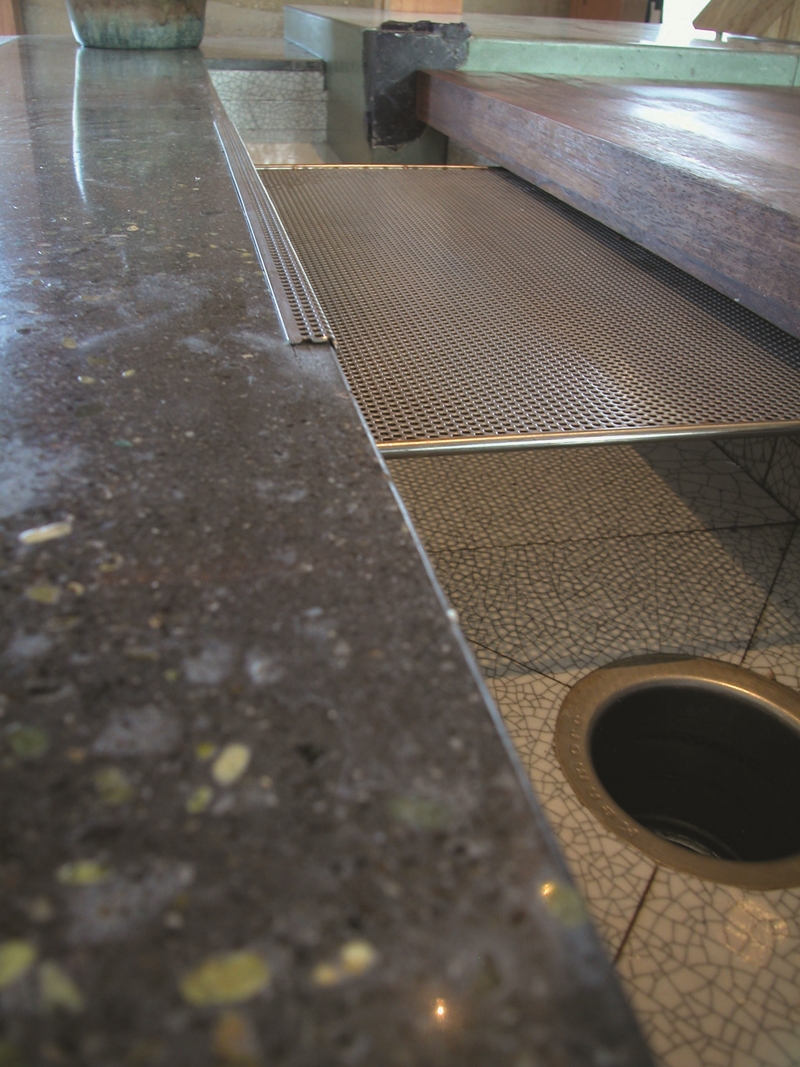
Want to shape the surface? It can be done, but Cheng says it’s not easy. “You can put some curbs and restrict the concrete for some shaping, like a driveway.” And you can inlay items. “But you can never get as flat as in a mold,” he adds. Rhodes observes, “You have to be creative. Drain boards can be screeded into the counter.”
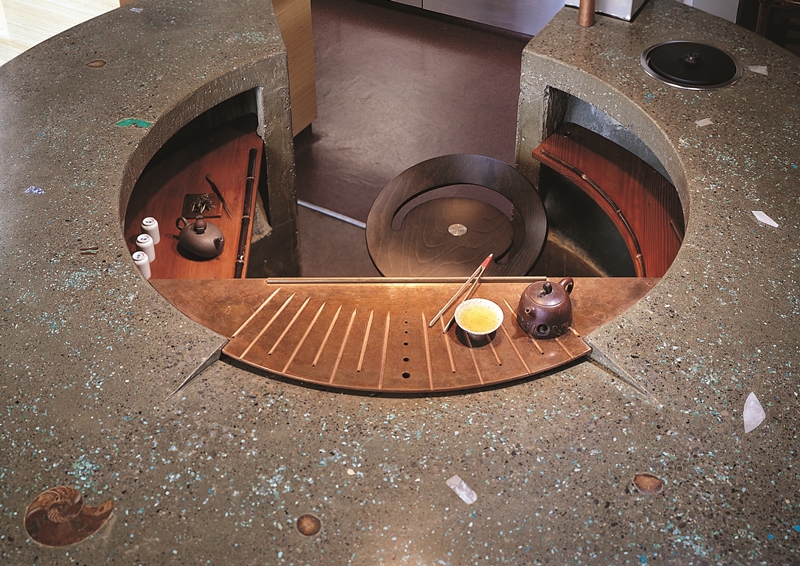
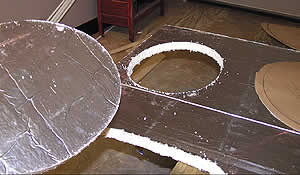
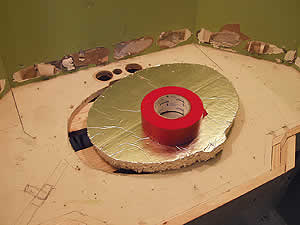
Ralston uses foam pieces to block out where a sink will go and embeds metal trivets through the thickness of a cast-in-place countertop. He also notes that cast-in-place concrete countertops can be stamped. On occasion he has used texture mats to imprint a texture.
Finishing techniques vary from contractor to contractor and depend on the desired results. Some customers will want the surface to look handcrafted; others want a more polished look.
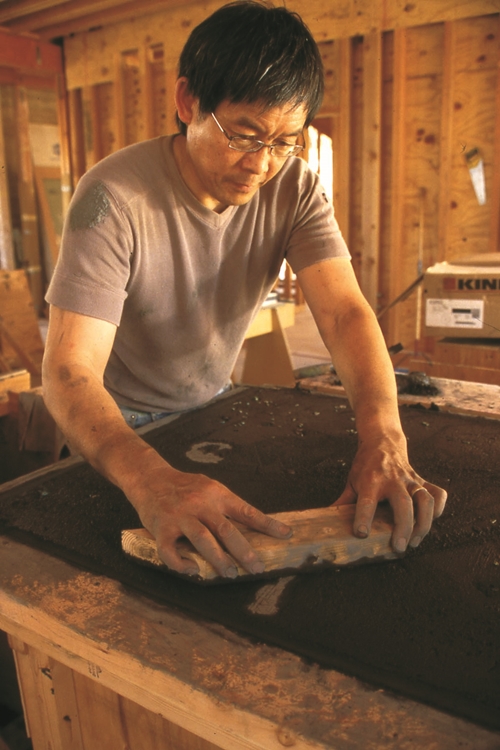
What you can achieve spans from “polished to expose the aggregate, a light sanding to leave the cream or trowel marks for a hard trowel,” Rhodes explains. “A lot of times we’ll spray water and trowel for a burnished look,” Ralston says. Smith points out, “It’s all in the honing. We lightly sand or diamond hone [the surface] after a few days. The harder [the surface] gets, the easier it is to hone.”
To retain the natural look of the concrete, a matte finish generally works well. A highly polished finish on a cast-in-place countertop is difficult and quite messy to achieve on site.
As Cheng points out, the major difficulty in grinding and polishing a cast-in-place surface has to do with how level the surface is. Even slight dips can be very problematic.
Final thoughts
With cast-in-place countertops you need to expect to be on site for at least several days. Reminiscing about a 165-square-foot countertop job he completed in Atlanta, Ralston explains they started at 6 a.m. and finished setting the forms the first day at 10:30 p.m. The next day the crew was on site from 8:30 a.m. to 8:30 p.m. pouring the concrete. Four hours the following day were spent stripping forms.
If your preparation work is done well — particularly the support and leveling —casting in place can be less complicated and more straightforward a process, especially for contractors good with form work. If you only have one day for installation, need to control the environment or incorporate intricate detailing or embedded objects into the countertop, the precast technique may be the way for you to go.
Cast-in-place concrete countertops may not be for everyone, but as Smith observes, “There is something to be said about seeing the craftsmanship” in a cast-in-place countertop.


