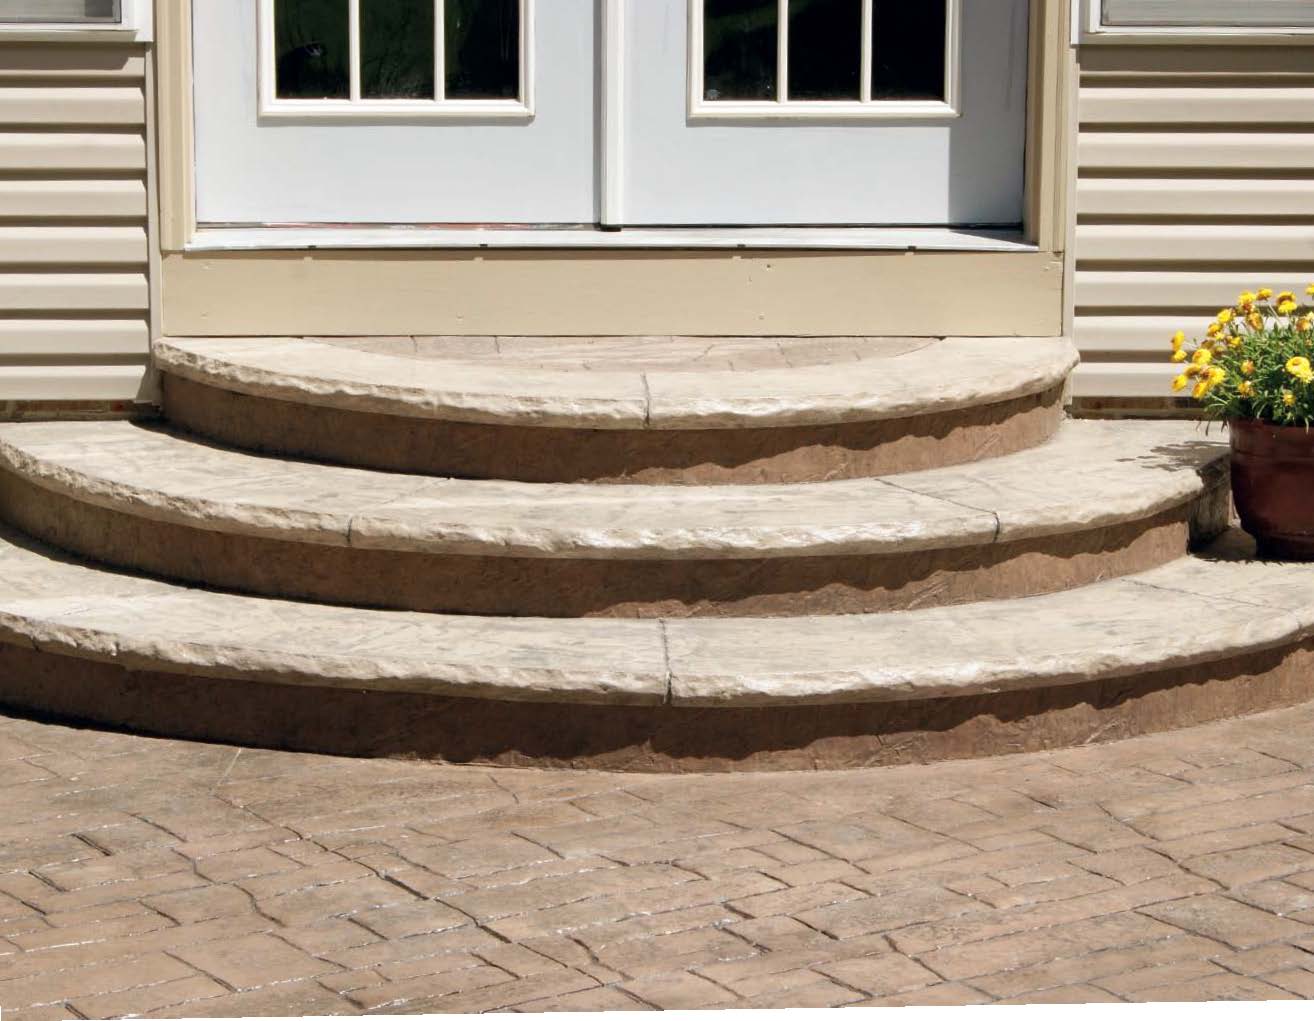
Decorative concrete has grown by leaps and bounds over the past 20 years as people have started to realize what kinds of natural looks can be achieved. As demand has risen, stamp manufacturers are continually refining their techniques to create more realistic impressions.
Yet for all the advancements that have been made when it comes to transforming the horizontal portion of a slab, the most common vertical element, the step, gets overlooked.
 Time and time again I have seen stamped jobs that are beautifully detailed, with crisp impressions and perfectly contrasting colors, but are adjacent to steps that are just regular concrete. The steps have square ends and flat risers. They may have some texture or they may not, depending on how quickly the forms were pulled, and at most, they have lines drawn down the faces. You can do better.
I’ve outlined a few tips and techniques developed over the years for forming and pouring half-round steps. While each person has their own unique way of doing things, I have found these things to be very helpful.
When you are finished pouring a set of half-round steps using these techniques, take a picture and hold it next to a set of regular steps on your next estimate. If people can see what they are going to get, they will pay more for these types of steps, I promise you.

1. Planning the Steps as a Separate Job
For this article I am going to focus primarily on steps coming off the back of a house leading to a patio area. In our part of the country (Ohio) most doors in this application are typically sliding glass doors or French-type swing doors ranging from 6 to 7 feet wide. Pouring steps off these types of doors as half-round steps is one of the best ways to make them stand out. It eliminates the flat sides that are characteristic of “regular” concrete steps. Also, walkers can step up and down on all sides, eliminating handrails in most cases.
Because steps are one of the most visible parts of a job, it is important to give them the attention they deserve. This means pouring the steps separately from the rest of the job. If you only have one step it may be possible to pour everything together, but if you have more than one step I would pour the steps separately.
I have seen guys get into trouble so many times trying to do too much at once. As a result, some part of the job suffers. Whether it is a donated birdbath in front of the steps from standing on knee boards, dark spots from where the release was troweled in, or the riser sagging from pulling forms too soon — I could go on and on. There is enough to worry about on the horizontal stamped portion, so when planning your pours, make sure to give the steps adequate attention by pouring them separately.
This will not just enhance the overall look of the job. From a structural standpoint, steps poured separately can move independently from the slab on grade.
2. Setting your Foundation
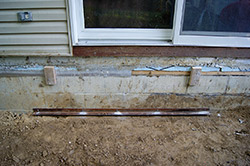
When prepping to pour your steps, it is important that you have a solid foundation for them to sit on. This is especially important when you backfill the “overdig” gap (left over after the foundation is poured) with dirt. If your steps do not have something solid to anchor them, they will inevitably sink as the dirt underneath begins to settle.
To prevent this, fasten a 2-inch piece of angle iron to the outside wall of the house with concrete anchors. Then, dry-stack cement blocks on the angle iron up to the point where you will be able to place 6 inches of concrete like a cap across the whole step. The front portion of the step is usually on virgin dirt, out far enough from the backfilled area to be OK.

3. Forming
Regardless of the material you use to form half-round steps, the most important thing is that the ends of your forms don’t move. To ensure that they don’t move, use Tapcons to fasten blocks of wood to the house at the level the risers will be at. Then, fasten the ends of the forms to the blocks. Any type of product that will bend to a tight radius, i.e. 1/4-inch fiberboard, polylumber or Aztec forms, will work for forming.
Next, drive stakes into the ground that will hold your forms at the proper height. It is also important to account for the thickness of the liners when setting your forms.
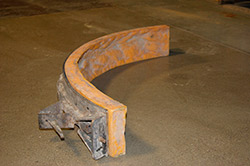
Another material that works well for half-round steps is steel forms. Most of the doors that would be at the back of a house are similar in width, and steel forms allow you to repeatedly pour a standard-size step. To make steel forms, contact your local metal fabricator and have them roll a 6-inch by 1/8-inch piece of metal in the arch and the width you want. It is also important to have them weld a piece of 1-inch tubing on the outside of the form to hold it true. Make the form for the next step down larger by whatever width you want the tread to be, making sure to mirror the radius of the first step. If you have the space, I like to make the treads between 16 and 18 inches. Oversized treads not only double as a seat or an area for potted plants, but are also a major selling point. You can have your steel forms made in sections to make them easier to transport.
4. Form Liners
I talk to a lot of contractors who are scared of using form liners, but once I convince them, they rarely use anything else. Once you get the hang of using form liners you will find that using them is easier than having to pull the form, rub the face and try to stamp a little bit of texture. If the steps are vibrated properly then the finishing process is very simple.
The two main types of form liners are rubber and Styrofoam. Rubber liners can be attached to the form using screws. Styrofoam liners can be attached with spray adhesive or screws.
Using Styrofoam liners on a radius step can be difficult because Styrofoam is not very flexible. To help with this, apply bending tape provided by the manufacturer and line the back of the form to ensure that it will bend but not break. After applying the tape, use screws with fender washers and run them through the front of the liner into your forming material to pull the liner closer to the form.
Rubber form liners are typically 1 to 2 inches thick and vary in riser height and length. The most common type of rubber liners have a rock-face edge and give the steps a natural broken-stone look. Rubber liners are fastened to the form using screws and are reusable.
I like to lube the inside of the forms, which makes them easier to pull off and clean. Any type of form release will work on rubber forms.
However, not every release will work with Styrofoam forms — for example, petroleum will eat away the Styrofoam. Vegetable oil or some type of water-based lube works better.

5. Placing the Concrete
The key to pouring radius steps is to fill them evenly so the concrete pushes against every part of the form at the same rate of pressure. (This is not an issue if you use steel forms, which can stand up to the pressure placed on them by an uneven pour.)
Do not pour the concrete into the steps using the concrete chute! A good old-fashioned shovel works best. If the forms are filled evenly, the stakes you put in are just to hold your forms to height and nothing else. The concrete will naturally push to where it needs to be as long as your forms are well-fastened to the house.
Another important part of placing the concrete in the steps is vibrating. I have found cordless pencil vibrators work best. If you do not have a pencil vibrator, an old palm sander held against the outside of the form will also work. Vibrating allows the concrete to fill in all of the voids near the liner, making detailing less laborious.
When working with form liners that are 1 to 2 inches thick, there will be an area underneath the riser that cannot get colored or floated before you pull the step form. To deal with this, measure down 3/4 inch from the bottom of the first step to start your next tread. I know what you are thinking: “The step will have too much slope.” But let me explain. Most floats are 1/4 inch thick. Add that to the 1/4 inch you will need to move your float underneath the liner, plus 1/4 inch for slope. Works out great.
When the steps are formed and finished this way, the spot underneath the liner is ready to go. This also makes pulling the forms without damaging the step face a lot easier. To gauge how far your float needs to go in under the liner, take a piece of tape or use marking paint and mark your float with the proper distance.

6. Color Hardener and Finishing
I am a huge fan of color hardener in general, but perhaps some of its biggest advantages come into play with steps. I know some of you might be saying, “Yeah, color hardener works great on flat surfaces like the step treads, but what about the face? Won’t it still be gray?” The beauty of color hardener is that it allows you to come back after everything else on the job is done and focus on detailing.
Here is how this works. Find the finest sifter or strainer you can get your hands on, even if it requires stealing a strainer from the kitchen. I have found bucket strainers from local paint stores that fit over a bucket to work best. Next, pour the color hardener over the strainer and shake to get rid of the larger aggregate, leaving the fines in the bucket below. For rock-face steps, if you are going to detail the faces the same day, mix the fines with water and brush the slurry onto the face of the steps. If you are detailing the next day, next week or whenever, mix with one part water and one part bonding.
When detailing a step face on which a Styrofoam liner was used, the procedure is basically the same. If doing a bull nose, cut off 4 to 5 inches of your liner and wrap the profile in packaging tape to create a tool. Then take your slurry and butter it onto the face of the step using the tool. At this point you can either leave the profile smooth or stamp it to create a texture.
Another thing you can do with color hardener on bull-nose steps is make the nose and the riser different colors for a really awesome look.
Finally, if you’re detailing with integral color, you have to do most of it while you can still work with the concrete. If the forms are pulled late or it’s a hot day, detailing steps can be a tough feat. To help with this, drill 50 to 60 quarter-inch holes in a 5-gallon bucket and dump in a few scoops of fresh concrete. Then, using a pencil vibrator, vibrate the concrete over the top of a sheet of plastic, leaving a cement paste. You can then brush this paste onto the faces of the steps.
If you are not currently using any of these techniques, I encourage you to give them a try. Instead of viewing them as more work or a pain in the butt, think of them as an opportunity to not only make more money, but also to separate yourself from the competition.
