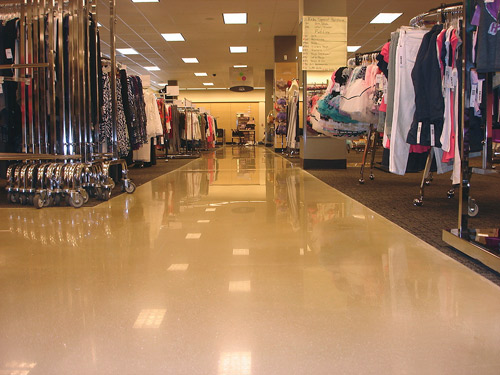
Existing concrete slabs often have imperfections —VCT tile lines, various patching materials from carpet tack strips, trenching, framing braces. This so-called character may be OK with some customers, but not the customer who wants uniformity. Many customers are wanting polished concrete without all the flaws showing up in the finished floor.
That’s only one reason polished concrete toppings are becoming very popular as a finished floor system for both damaged floors and new construction. The benefits have been proven in environments such as schools, big box retail, grocery and retail chains, government facilities, restaurant chains and residences.
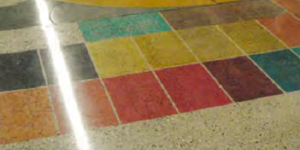
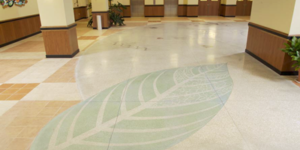
In terms of decorative options, existing concrete slabs are limited to topical color systems. In many cases these coloration processes are subject to fading and wear and are sensitive in high-moisture environments. You’ll find more versatility in 3/8-inch concrete overlays. Not only do you have a choice of UV-stable integral colors, but you can also choose from several types of aggregates. Many of our contractors (CTS Cement Manufacturing’s customers) have used this color-and-aggregate combination to replace damaged areas in existing stores to match the adjacent flooring, while some of our experienced contractor-customers create unique multicolored designer floors and floors that resemble terrazzo.
Today, more and more contractors are jumping into this type of flooring. However, placing and polishing a concrete overlay requires a great deal of attention and more coordination than polishing an existing slab.
Here are a few tips when taking on an overlay-polishing job:
Examination of the existing slab: The substrate should be free of any contaminants. The existing substrate should have proper hardness and soundness. If repairs have to be made prior to primer application, knowing the moisture level in the slab is essential for determining the appropriate repair products that will fit the time schedule of the project.
Priming: We have found with these highly decorative floors that a high-solids epoxy primer with broadcast sand provides the best results over the profiled substrate. Acrylic primers are thin-mil primers that don’t offer any crack-bridging capabilities and usually can’t stop any of the pinholing that is associated with an outgassing substrate and affects the finished surface.
Mixing and placing the overlay: You should consider having someone placing polished overlays who is trained or has experience. A polished overlay requires a great deal more attention than an overlay that is not going to receive a polished finish.
The mixers, tools for placement, and process of placing a self-leveling overlayment for polishing are much more refined today than in the past. Many contractors that used to mix in the two-bag barrels are now turning towards batch mixers that mix the material more efficiently, such as the five-bag Hippo mixer from CS Unitec.
What’s more, in the past the smoother trowel was the choice tool for finishing these overlayments. Today, the thin metal spike roller is what contractors prefer to use for their finishing. Not only is the metal spike roller very easy to use, but an overlay finished with it generally requires less grinding than a smoother-troweled floor.
An organized mixing station is the backbone to the entire process. Having the right manpower, correct mixing time, proper mixing equipment and proper placement tools over a properly primed slab is critical for the finished polished surface. In the past, overlays were rarely ground with metals — at most, they’d get a light sand prior to sealing. But after you remove the top cap of overlay during the grinding process, any unmixed material, air in the mix, pinholes (due to lack of primer) or sand segregation will be visible imperfections in the finish surface.
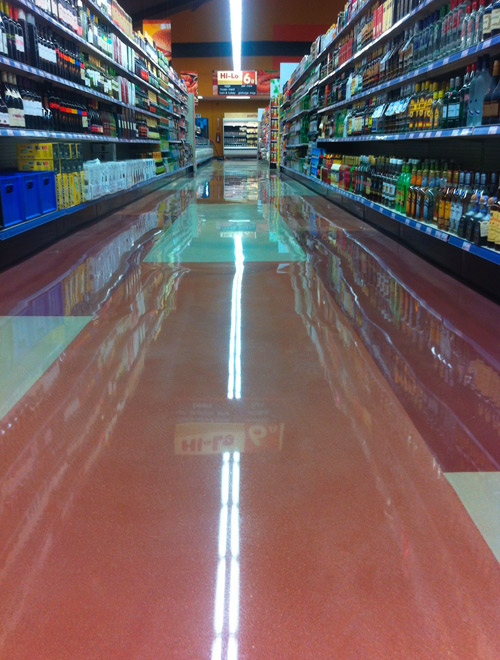
Placing an overlay with aggregates: Presently there are two ways contractors are adding aggregates to this flooring. The first is to broadcast the aggregate into the wet overlay right after placement. This process is all about timing, because if you broadcast too early the aggregate will sink, and if you broadcast too late the aggregate will not properly sit into the overlay. Appropriate timing can also vary due to air temperature, the weight of the aggregate and the thickness of the overlay.
The other method is extending the overlay with aggregates in the mix prior to placement. This process requires the most amount of skill — the added aggregate will reduce the leveling capabilities of the self-leveling material.
The polishing process: Typically the grinding process starts 24 hours after placement. The choice of first grinding step depends solely on the overall flatness of the overlay. Generally with a broadcast-aggregate floor, a 40 metal would be a realistic starting point. With an integrally colored or uncolored overlay with limited tool marks in the floor, an 80 metal should do the job.
With our overlay the purpose of the grinding steps is to remove the skin and the thin cream layer of the overlay, exposing the fine sands. Once all the fines are exposed, refine the scratch pattern and polish to your desired gloss level.
