Michael Day of Day’s Concrete Floors Inc., North Monmouth, Maine, was hired in 2011 to do some serious makeover work at the Sugarloaf Mountain Ski Resort Hotel in Carrabasset Valley, Maine.
The hotel turned him loose on 4,450 square feet of worn-out carpet and tile, including a 2,100 square feet in the lobby plus common areas on the upper floors. He used a thin stampable overlay and other materials from Elite Crete Systems to put down the look of unique large stones.
Day tells us: “Sugarloaf is one of the premier ski resorts in New England. They have thousands of people visit their resort each week during ski season. They wanted to update the flooring in the hotel with something that would give it more of a feeling like you were in the mountains. They had 20-year-old carpet and tile for flooring that was worn out and difficult to keep clean.
“The hotel decided on a stamped decorative concrete overlay after researching many different kinds of flooring. The durability and very low maintenance of this kind of flooring was very important to the hotel managers but the main reason they chose this material was because of the flexibility of being able to stamp it, color it, and seal it and still make it look like real stones.
“There were many challenges during the installation process:
1. Coming up with a plan to keep things moving and limiting downtime, as the hotel and restaurant in the lobby would remain open.
2. Pulling up the carpet and chipping up the tile.
3. Removing the mastic from the carpet off the existing concrete floor. We had to grind it off by hand and by using walk behind floor grinders, solvents would not remove the glue.
4. Keeping the dust to a minimum. We used vacuums on the grinders.
5. Taping off doors, walls, elevators and column’s to keep them clean.
After grinding, acid-washing, neutralizing and rinsing the concrete, we were ready to start installing the overlay.
“The first step was skimming an entire concrete floor with Elite Crete’s Thin Finish. The skim coat would help improve the bonding capabilities of the overlay. After that was dry we skimmed on another coat of Thin Finish and while this coat was still wet, we immediately applied the stampable overlay product called Texture-Pave on top of it and gauge-raked it to 1⁄4-inch thick.
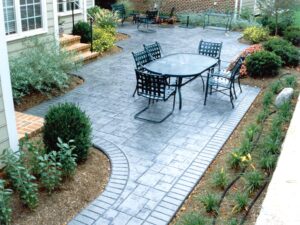
“After installing the overlay material we stamped it with stone-textured concrete stamps. We waited until we could walk on it without leaving footprints and hand-carved the stones. This was very challenging because we were hand-carving stones down hallways, around doors, around columns, and in large areas, trying not to make all the stones look like they were repeating.
Once the stones were carved we vacuumed up the material and were ready for coloring. We used three different colors for the stones — beige, chocolate and charcoal. The beige color was mixed into the material to color the product and sprayed on after the overlay was dry. We highlighted with the chocolate and charcoal colors, spraying them on individual stones after the material was dry.
“After all the stones were colored we grouted the grout lines by hand, waited for that to dry and applied two coats of Elite Crete’s Fast Set Clear two-part epoxy. The finish coat was a urethane coating with a slip-resistant additive mixed in to help keep it from being slippery and giving the overlay a matte-looking finish.”

