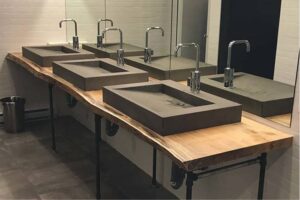
I recently wrote about the tooling and basic techniques used to polish concrete countertops. Now, I will explain in further detail about sink polishing and edge profiling.
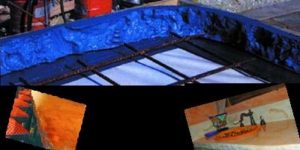
Although many concrete countertop fabricators use silicone or edge forms to create their edge profile, there is another way. We have router bits called Eagle Brazed Diamond Profilers with a 5/8-11 thread that are made to be used on the same water-feed polishers that you use for polishing. They have a plastic bearing that rides on the top surface of the countertop and a metal bearing on the side. The plastic bearing keeps the bit from grinding too far down and the metal bearing keeps it from grinding too far in. This enables you to build your forms and skip the silicone, foam and edge forms. When the concrete has cured and you release it from the form, it will be square and ready for the profiler.
There are many different size and profile options to choose from. The advantage of this process is the quality of your edge and the speed with which you will be able to accomplish it. For example, a standard 3/8-inch radius on a 6-foot edge takes about one minute. Run them down your edge until both bearings are touching and it’s done. When the desired profile has been achieved, you will be able to look down your edge and see no ripples or lines, just a perfect edge every time. The only possible downfall to using these bits is that they will expose aggregates in the mix. If you are just polishing the cream then using these profilers might not be your best choice. If you are exposing aggregate or your mix only has fine sands, these bits are by far the best way to create different edge profiles on concrete countertops.
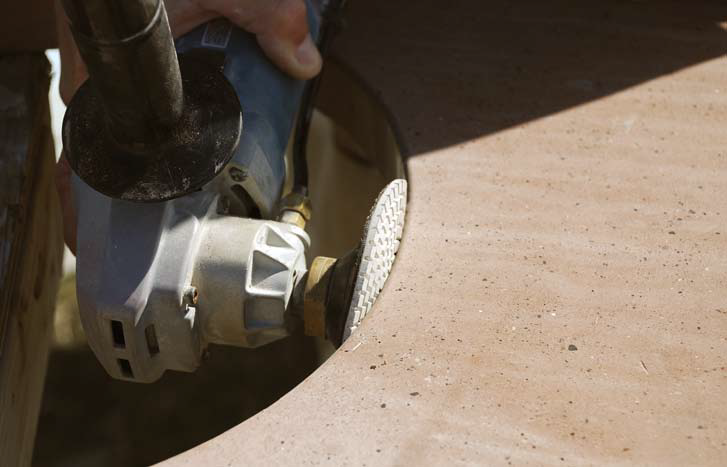
 Sink polishing can be a bit tricky but there are a few things that can simplify the process. When doing an under-mount sink, you will first need to round over the top edge with a 3/16-inch Eagle Brazed Diamond Profiler. Once the inside of your sink is ready to polish, it’s important to have the right set-up. Take the handle off of your polisher; it will only get in the way. Then use a 3-inch flexible backer pad with 4-inch polishing pads. Using the 3-inch backer pad will allow the outside of the 4-inch pad to bend over the edge of the backer. This gets you into the inside radius of the sink. It’s important to have a good flexible polishing pad; the Dura-Plus Diamond Polishing Discs are my personal favorite. Start at 100 grit or 200 grit if you are exposing aggregate and at 400 grit or 800 grit if you are not. If you are just polishing the cream then you will need to make sure that your sink knock-out is perfect. Any ripples, lines, or bumps will make it very difficult to create a quality sink opening that looks consistent.
Integral sinks are even harder to polish, but once again, the right equipment can save you a lot of headache. If you have an air compressor, then using an air polisher will be a huge step in the right direction. Air polishers are about one-third the size and half the weight of electric polishers. They are much easier to get into tight areas and the RPMs can be turned way down for fine-tuned polishing. I would take the handle off and use the same pad and backer setup as I would for an under-mount sink. Air polishers need 16 cfm of air to run the machine. Once you try an air polisher, you will not want to go back to electric — but make sure you have the right setup because using a compressor that is undersized can ruin your equipment.
If your sink design does not allow you to polish the whole thing with a machine, then I would recommend polishing strips. They are very similar to hand pads except they do not have the foam. They are very flexible and come in the same grits as normal polishing pads.
(866) 902-7311
www.concretecountertopspecialties.com
