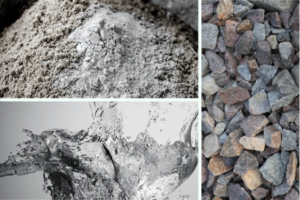
 Now the fun begins – the carve coat mix design!
We’ve been covering a majestic pool in Temecula, California, from start to finish. Now we finally get to the part everyone is always waiting for: the carve coat.
This is where the true artistry begins. Before we can get carving, we have to discuss the proper materials and techniques for getting the mud on in the first place.
There’s nothing more disheartening than to carefully shape your rocks just the way you want them only to see your work peel away and fall to the ground. There will always be some risk but you can minimize it through mix design and proper application technique.
The most frequently asked question I get when doing seminars or demonstrations is, “What is your mix design?” There are several bag mixes on the market but it isn’t necessary to use them to get a good result. I’ve been doing this since long before most of them hit the market. So, I can tell you the design is rather simple: Equal parts sand and cement.
Getting the mix right
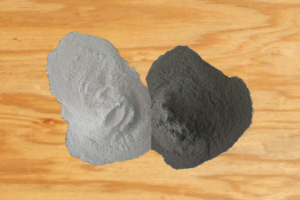
The ratio may vary up to 60/40 depending on local varieties of cement and the size of sand particles, depending on how the mud is working for you. Fire clay and thin-set tile mortar are added at a rate of two shovels per bag of cement. For fire pits, another shovel or two of fire clay should be added to make the finished rocks less brittle. This reduces the possibility of damage from the heat.
Clay also sucks up the moisture in the mud, reducing the tendency to sag and making the mud stickier. This allows you to build up 3-4 inches of mud to carve into on vertical surfaces. Thin-set tile mortar has added polymers to promote adhesion and reduce cracking. To build up large areas add rock. However, it won’t be possible to carve since the aggregate gets in the way. It can be scratched and coated with carving mud later.
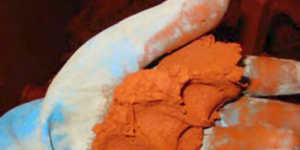
Even the stickiest mud will fall out if it isn’t applied correctly. Any pockets of air or loose debris can easily cause a weak point. This weak point will spread out and allow a large section of mud to delaminate from the wall or ceiling and end up in a heap on the floor. To prevent this, begin by cleaning up the project with a power washer or a blower and a hose. Take a small handful of mud and rub it into the wall as tight as possible. Physically key into every scratch and to provide the best possible adhesion to the wall.
Placing the mud
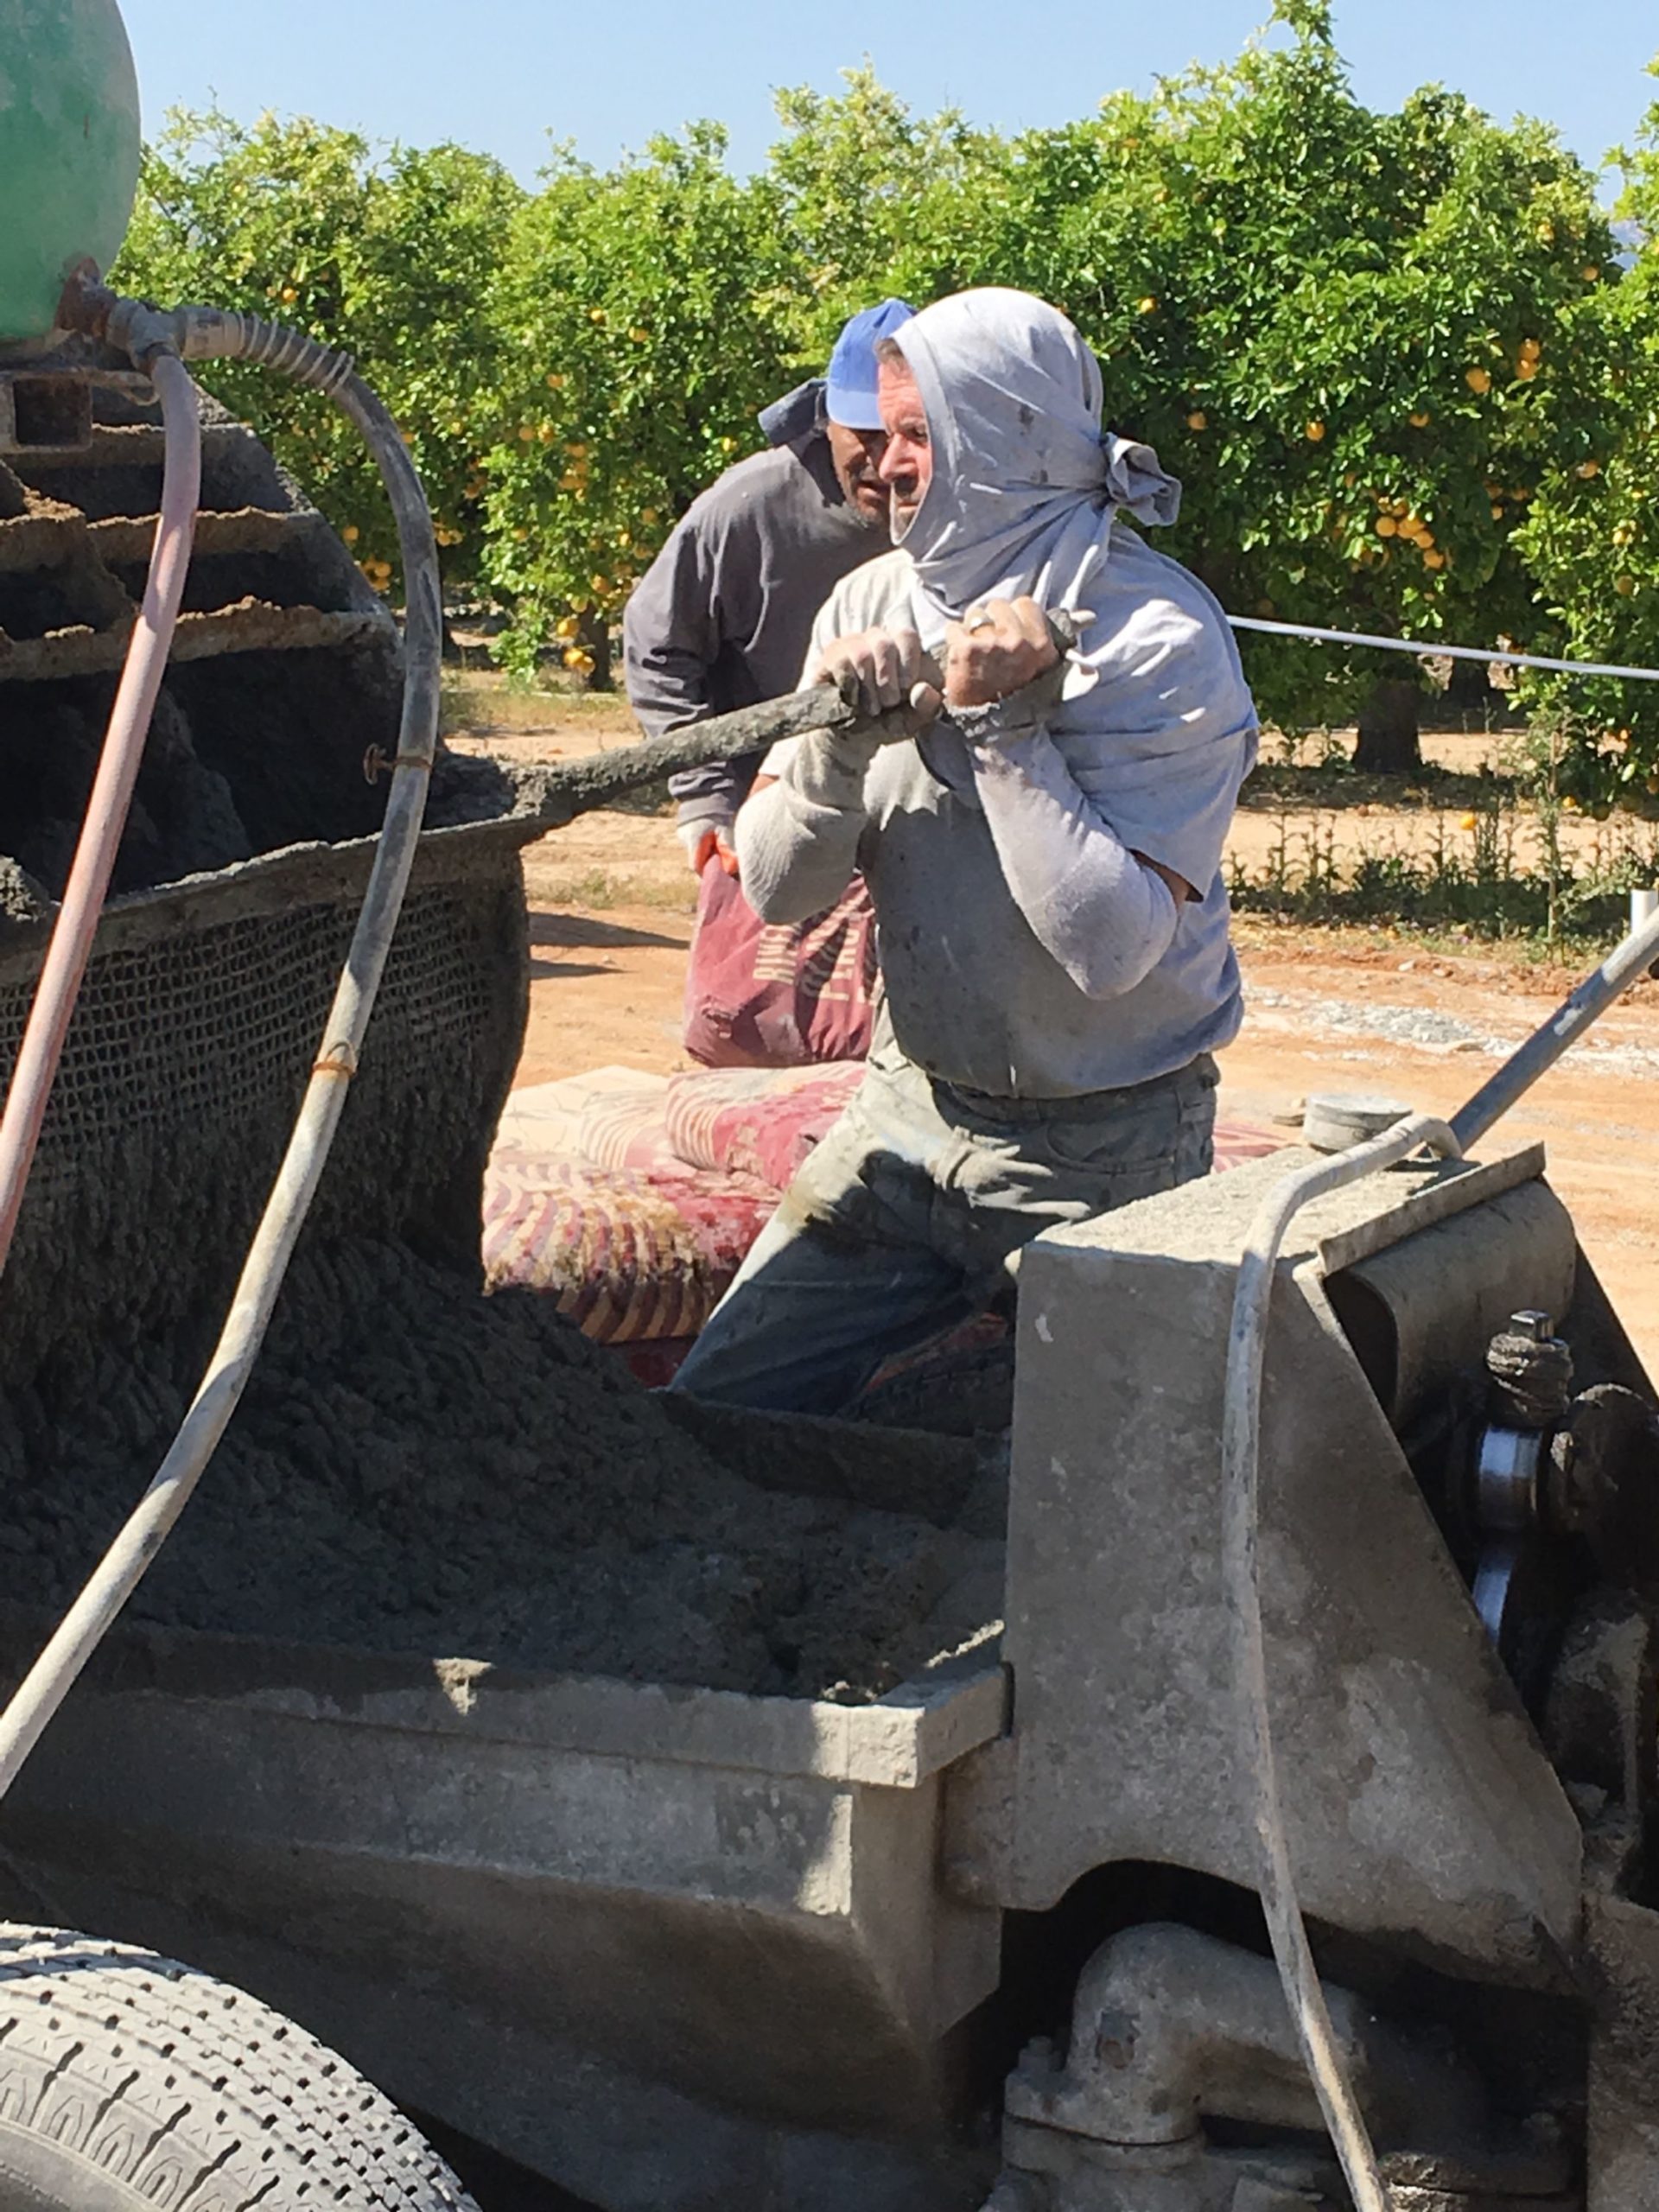
To build out the mud to the desired depth for carving, take handfuls of mud and throw them into place. Let the inertia of your throw be sufficient enough to force the mud firmly into place and eliminate any air pockets.
Once you place enough mud, you can shape it using a pool trowel dipped in water. Don’t overwork the mud with your trowel. It will pull all the moisture to the surface and create problems. I’ll cover more of the artistic aspects of this phase in my next post.
Preparing a job for carving is rather straightforward. First, clean up the shotcrete to promote adhesion. The simple mix design contains one large bag of cement, equal parts sand, two shovels of fire clay and two shovels of thin-set tile mortar.
Rub in the section before throwing on the mud to build it out. Once you do this, you can rest assured that you’ve completed all the necessary steps to prevent fallouts from happening. Subsequently, your carving will last as long as possible.
Read previous blogs entries by Joshua Annis
3-D Miniature Models – Vertical Concrete Artistry, Part 1
Engineering and Steel – Vertical Concrete Artistry, Part 2
Shotcrete – Vertical Concrete Artistry, Part 3
Waterproofing – Vertical Concrete Artistry Part 4
Questions from Readers
Question
So do you use Portland cement or plastic cement in your carving mix? Also, do you suggest regular thinset mortar for floors or the kind for wall tile?
Answer from Concrete Decor
I’m a little worried that the story you read makes the possibility of creating your own carving mix sound incredibly easy. To an experienced installer, this is a simple process. But to people who do a small project or want to offer this kind of application to their customers, it may be a different story.
I recommend using an engineered bag mix for a couple of reasons. First, if you’re not an experienced ‘carver’ you must have an extended working time before the product becomes unworkable. Second, you have to consider a material’s thickness at the time you apply it to a prepared substrate. A thickness of 1inch may be good for some types of finishes. However, in order to achieve needed shadow lines (relief), you need a material that will hold onto the wall wet at 3-to-5 inches or as thick as 7 inches while you’re working with it.
Lastly, in order to really understand and appreciate a future mix design of your own, I believe it pays to know how engineered mixes work.
